

Nextcloud Clients
The DAM NextCloud module ships a Nextcloud-compatible surface so that the official Nextcloud apps — Desktop, iOS, Android — connect with no modification.
Connection URL
Use the UnoPim base URL (e.g., https://pim.example.com) as the server URL in any Nextcloud client. The client appends /remote.php/dav/files/<username>/ automatically.
Login-flow-v2 (recommended)
The Nextcloud clients ask the server for a login-flow URL, open it in the user's browser, and poll until the user grants the app. UnoPim implements the same dance — no manual URL or password typing in the client.
Step 1 — Login
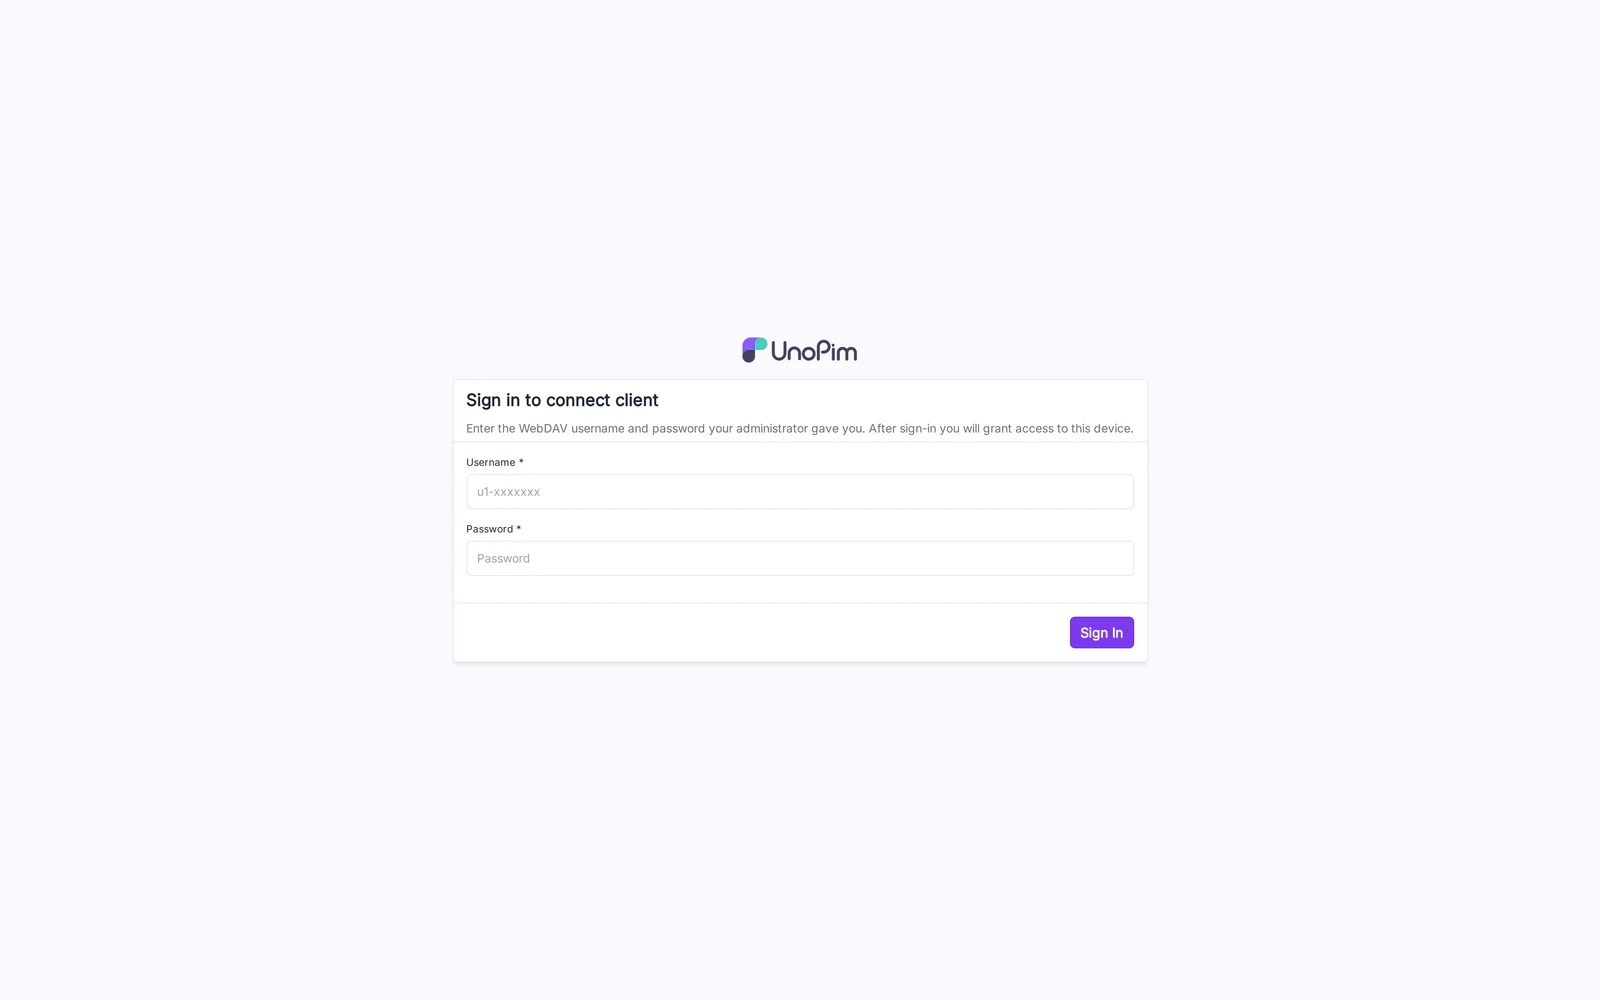
The browser opens UnoPim's login page. The user signs in with their UnoPim admin credentials.
Step 2 — Grant access
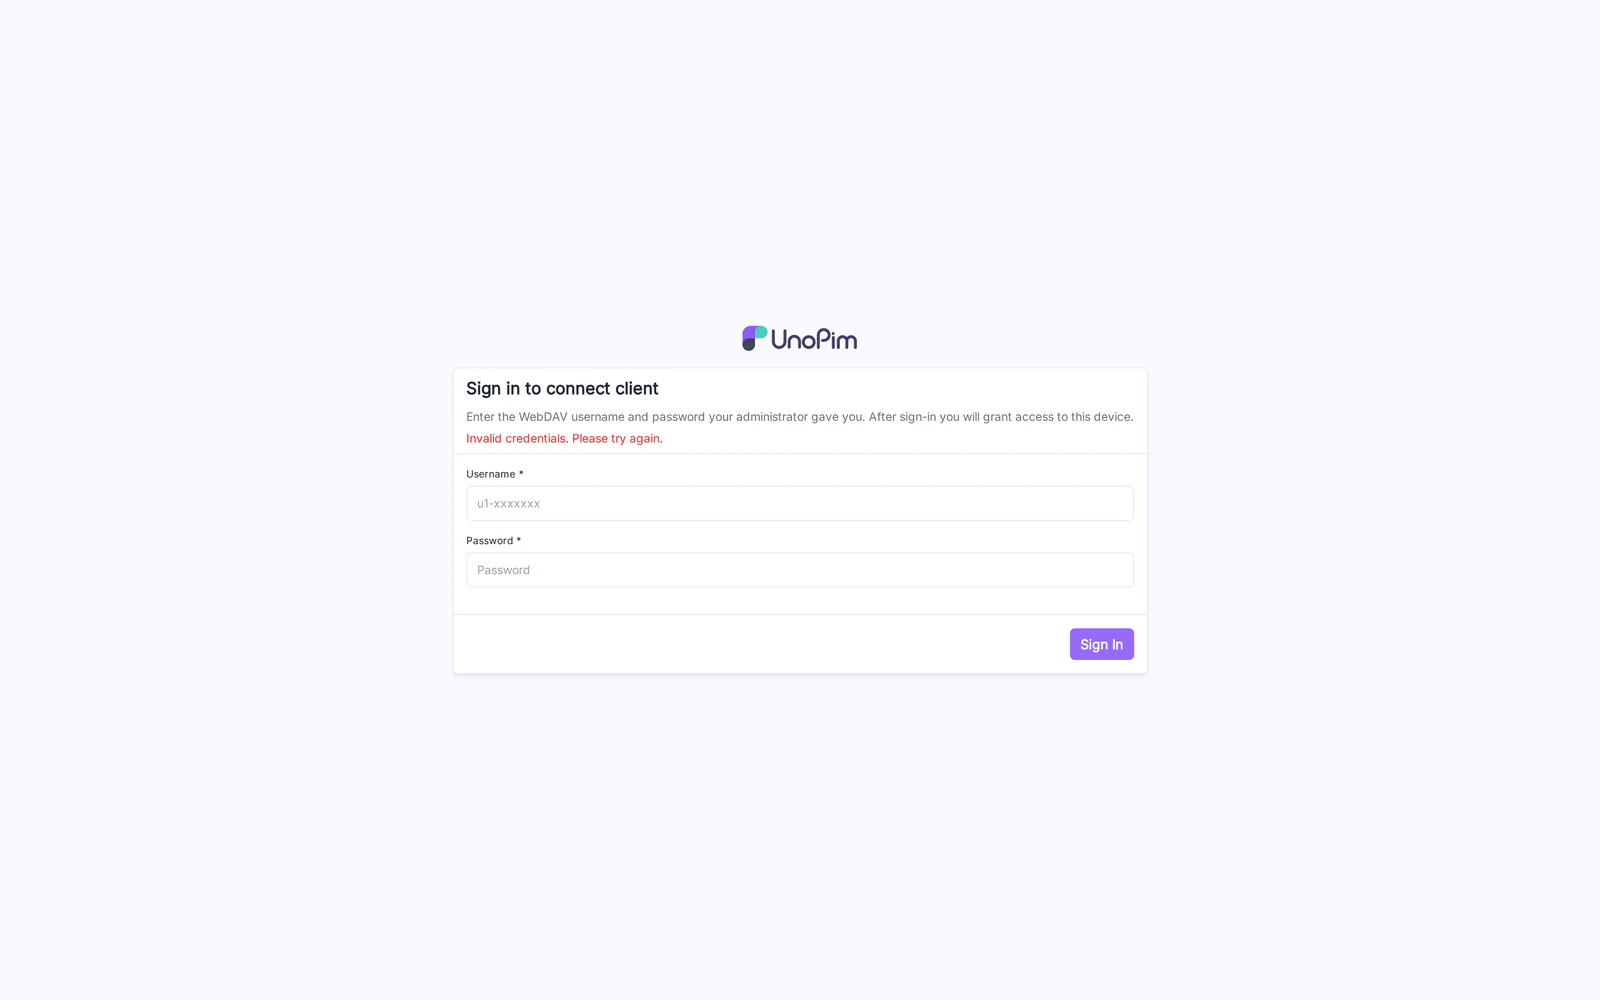
After signing in, UnoPim shows the app name and asks for confirmation. Click Grant access. The desktop / mobile client receives an app-password and starts syncing.
Per-client setup
Nextcloud Desktop (Windows / macOS / Linux)
- File → New account…
- Server address: your UnoPim base URL.
- Click Login on Server, follow the login-flow above.
- Pick the local folder; tick Sync everything from the server.
- The folder begins syncing the directory bound to the credential's Sync Profile.
Nextcloud iOS / Android
- Open the app, Add account.
- Enter the UnoPim base URL — or scan the QR code from the credential's Edit page in UnoPim.
- Sign in via the in-app browser; complete the grant.
- (Optional) Auto-upload of camera photos: Settings → Auto upload → pick the synced DAM folder.
Tips
- If a client refuses to connect with
400 Bad Requeston the first request, double-check that nginx forwardsPROPFIND(see Installation). - The login-flow QR code on the Credentials edit page is the fastest way to onboard mobile users — no typing.
- To revoke access immediately, disable the credential in UnoPim. The Nextcloud client will get
401on its next sync tick and stop pulling.