Installation
Steps
1. Merge the extension files
Unzip the Supplier Data Portal package and copy the packages/ folder into your Unopim project root, merging with any existing packages/ directory.
2. Register the service provider
Open bootstrap/providers.php and add:
php
use Webkul\Supplier\Providers\SupplierServiceProvider;

return [
    // ...existing providers...
    SupplierServiceProvider::class,
];
NOTE
This registers SupplierServiceProvider in Laravel so the extension can bootstrap its services, routes, and package configuration during application startup.
3. Update Composer autoload
In composer.json, add the namespace under autoload.psr-4:
json
"autoload": {
    "psr-4": {
        "Webkul\\Supplier\\": "packages/Webkul/Supplier/src"
    }
}
4. Run the installer
bash
composer dump-autoload
php artisan supplier:install| Command | Purpose |
|---|---|
composer dump-autoload | Regenerates Composer's autoloader mapping to include the newly added namespace. |
php artisan supplier:install | Runs the package installer, including required database migrations and seeders. |
5. Build front-end assets
If icons or UI elements are missing, build the supplier front-end assets:
bash
cd packages/Webkul/Supplier
npm install
npm run build| Command | Purpose |
|---|---|
cd packages/Webkul/Supplier | Changes into the Supplier package directory before running npm commands. |
npm install | Installs frontend dependencies for the Supplier package. |
npm run build | Builds Supplier frontend assets so icons and UI components render correctly. |
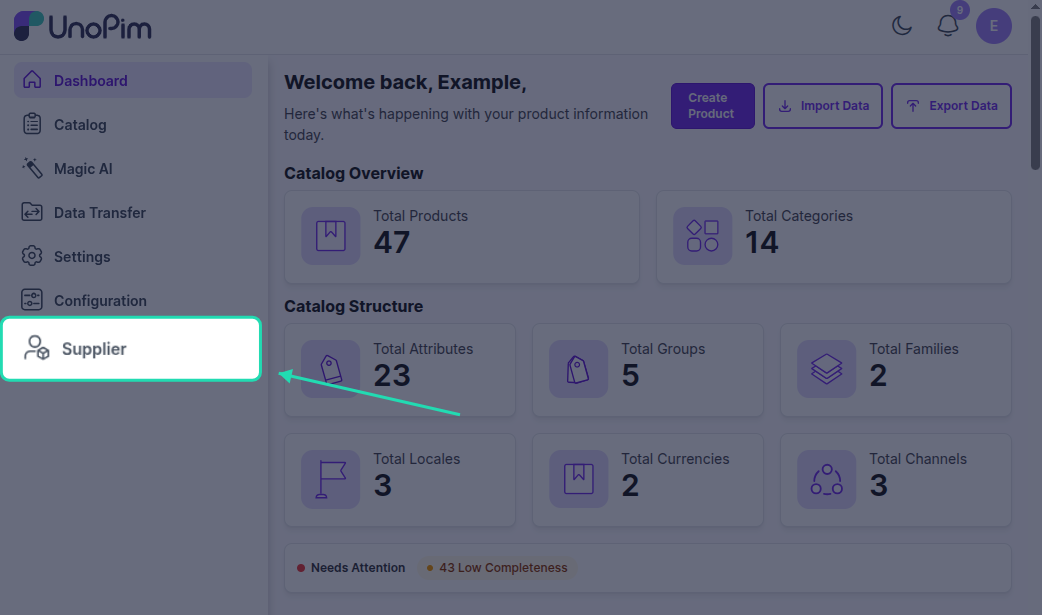
6. Verify
- Open
http://your-domain.com/supplier/login- you should see the supplier login page. - Open the Unopim admin panel - a Supplier section should appear in the sidebar.