

Installation
This page covers installing the extension. Once it's installed, see Configure R2 Keys to start using it.
Steps
1. Drop the package in place
Place the unzipped extension at:
packages/Webkul/CloudflareR2Integration/2. Add it to composer.json
In your project's root composer.json:
"autoload": {
    "psr-4": {
        "Webkul\\CloudflareR2Integration\\": "packages/Webkul/CloudflareR2Integration/src"
    }
}
3. Register the provider
In bootstrap/providers.php:
Webkul\CloudflareR2Integration\Providers\CloudflareR2IntegrationServiceProvider::class,NOTE
This registers CloudflareR2IntegrationServiceProvider in Laravel so the connector can bootstrap its services, routes, and package configuration during application startup.
4. Run the install command
composer dump-autoload
php artisan cloudflare-r2-package:install
The installer pulls in league/flysystem-aws-s3-v3 + aws/aws-sdk-php, runs the migration, and publishes the assets.
| Command | Purpose |
|---|---|
composer dump-autoload | Regenerates Composer's autoloader mapping to include the newly added namespace. |
php artisan cloudflare-r2-package:install | Installs required package dependencies, runs migrations, and publishes assets/configuration. |
5. Keep a queue worker running
php artisan queue:work| Command | Purpose |
|---|---|
php artisan queue:work | Starts a queue worker to process Cloudflare R2 background jobs (like media sync). |
In production use Supervisor / systemd / Horizon. Sync Media is dispatched to the queue, so without a worker it will sit in queued.
6. Give your role permission
Open Settings → Roles, edit the role, and tick the Cloudflare R2 permissions:
- Cloudflare R2 - master node, shows the menu.
- Credential - view the credential page.
- Save Credential - save credential changes.
- Sync Media - run the Synchronize Media button.
Without these the menu and buttons stay hidden.
Check it worked
Menu shows up. Open the admin panel - a Cloudflare R2 menu appears in the sidebar.
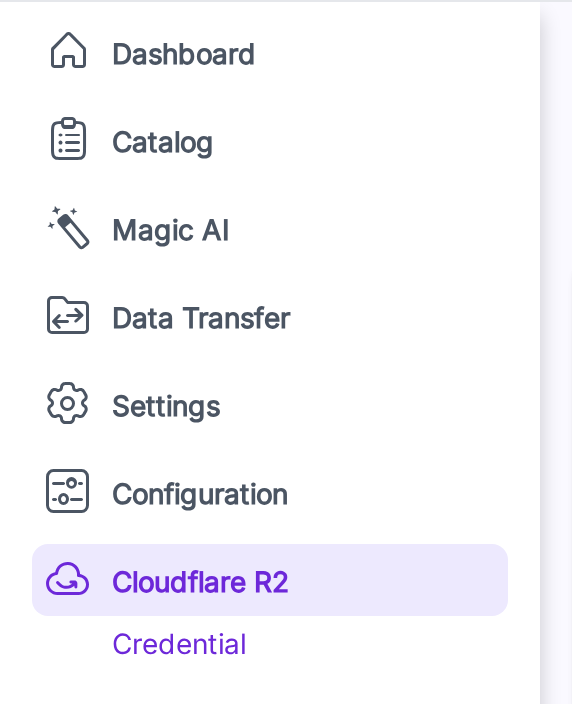
Credential page opens. Click Cloudflare R2 → Credential. You land on the credential form.
Save validates. Click Save with empty fields - the form blocks the submit and tells you what's missing.
If any of these don't work, see Troubleshooting.