Adding Assets to a Category
Just like products, you can attach digital assets directly to your categories in UnoPim. This is useful for keeping category-level visuals — like banner images or icons — organised and exportable alongside your catalog structure.
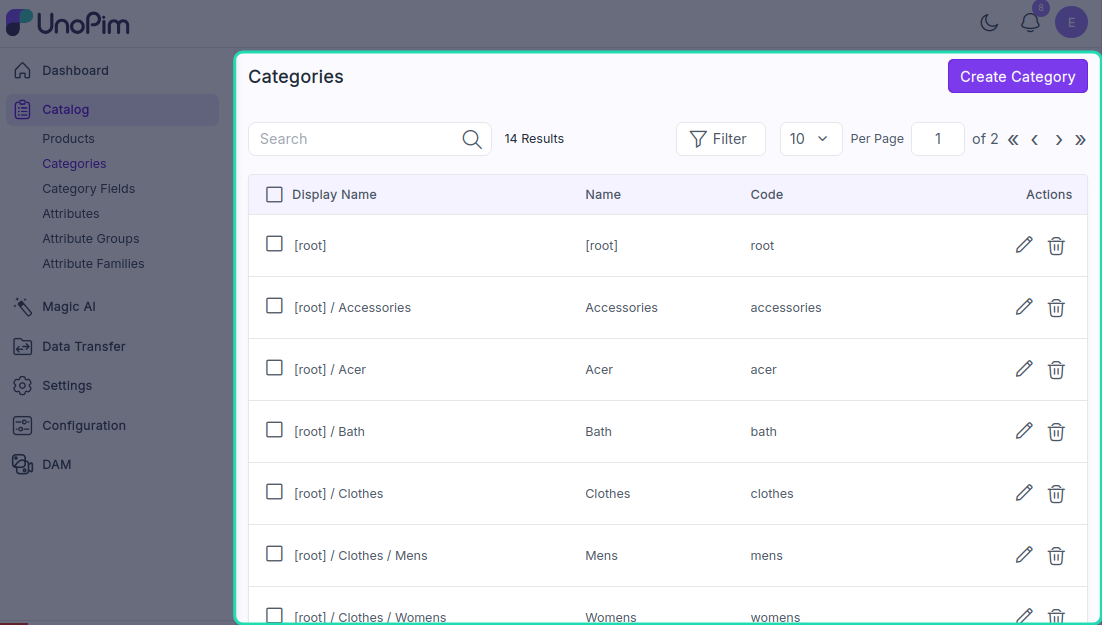
Step 1 — Open the Category
Navigate to the category you want to add assets to. In the category edit screen, scroll down to the Category Asset Media field.
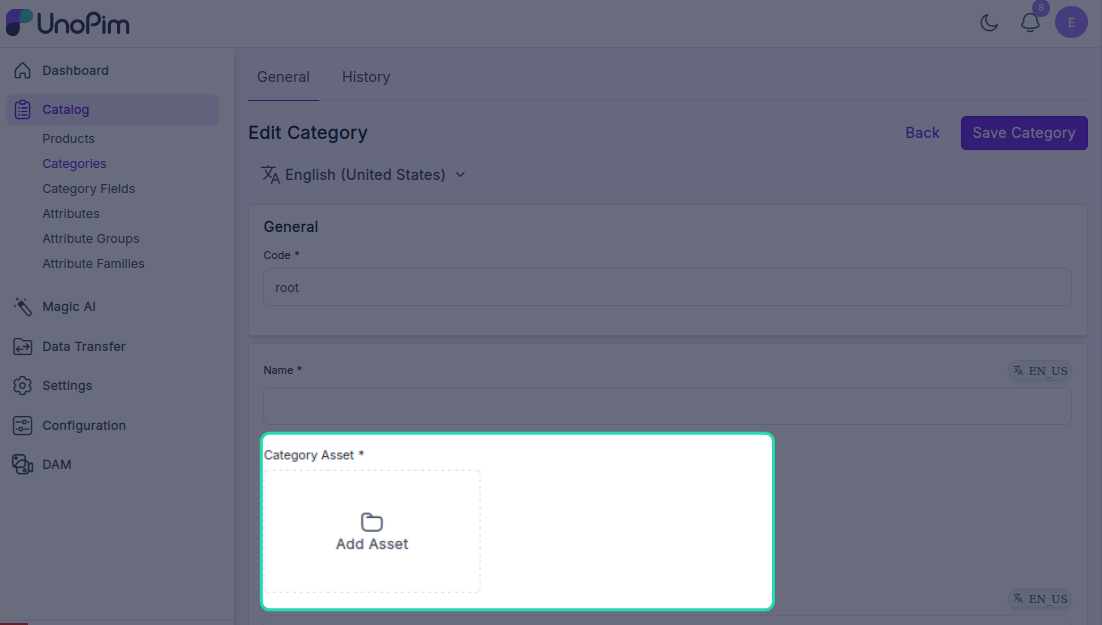
Step 2 — Add Assets
Click the Add Assets button. The asset picker will open, showing all the assets available across your directories.
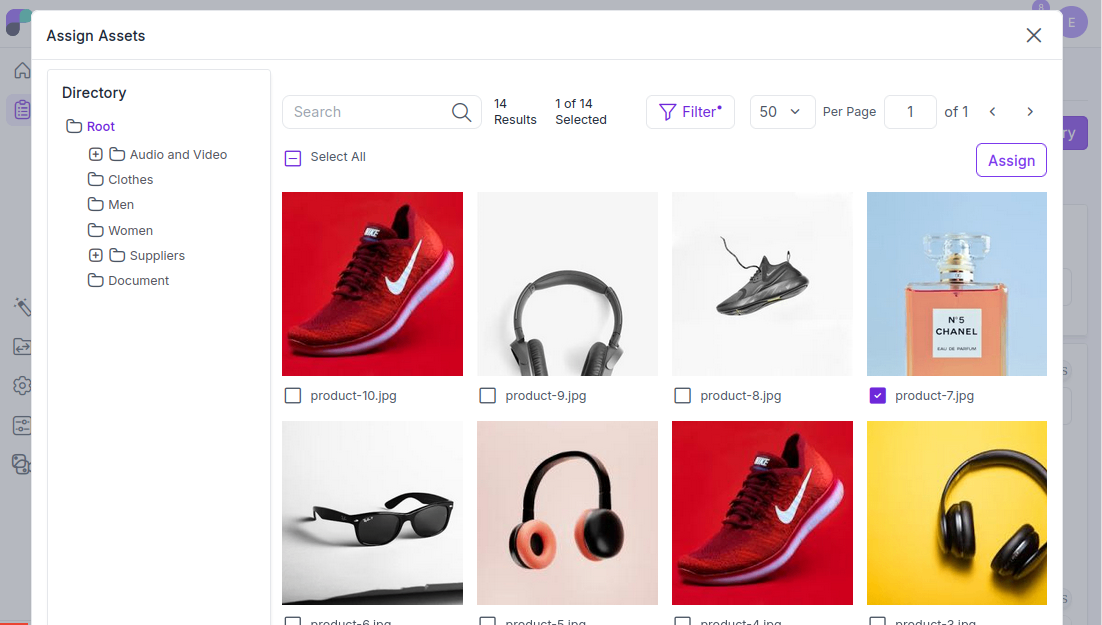
You can:
- Click All to select every available asset
- Click individual assets to select specific ones
Once you've made your selection, click Assign. All selected assets will be linked to the category.
Step 3 — Manage Assigned Assets
Hover over any assigned asset thumbnail to see three options:
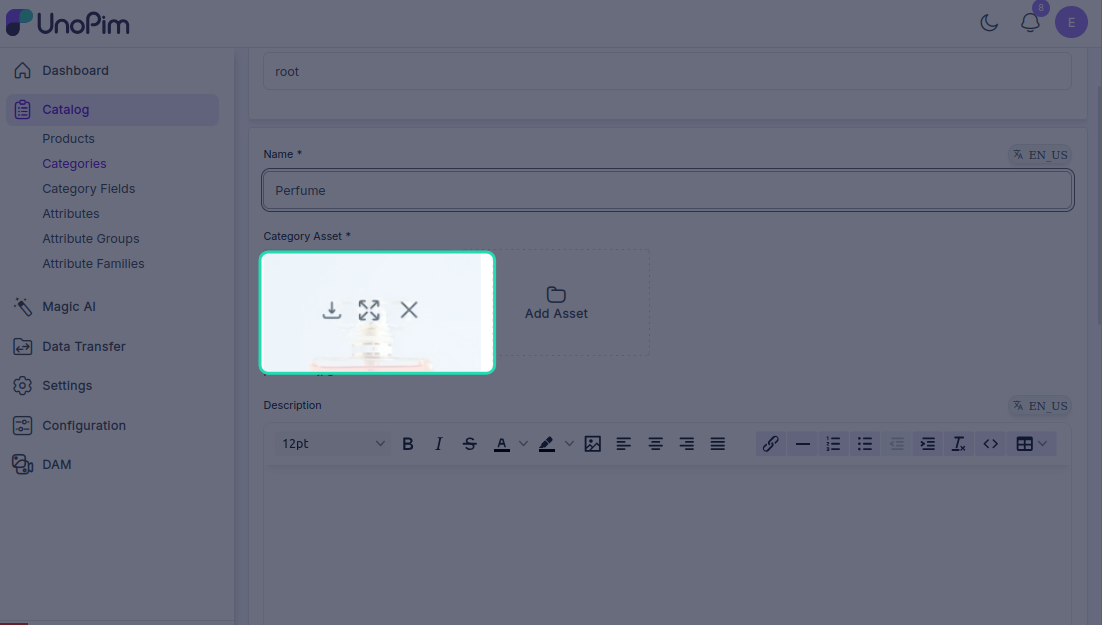
| Option | What it does |
|---|---|
| Preview | Opens a full preview of the asset |
| Download | Downloads the asset to your device |
| Remove | Unlinks the asset from the category |
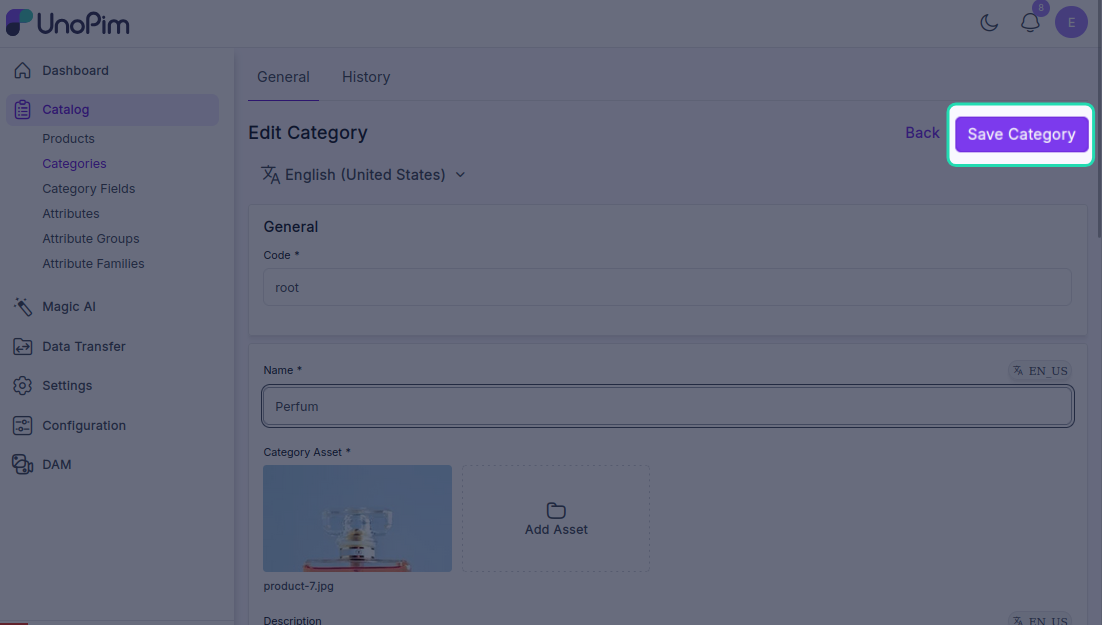
Step 4 — Save the Category
Click Save once you're done. The assets are now attached to the category and will be included when you export it.
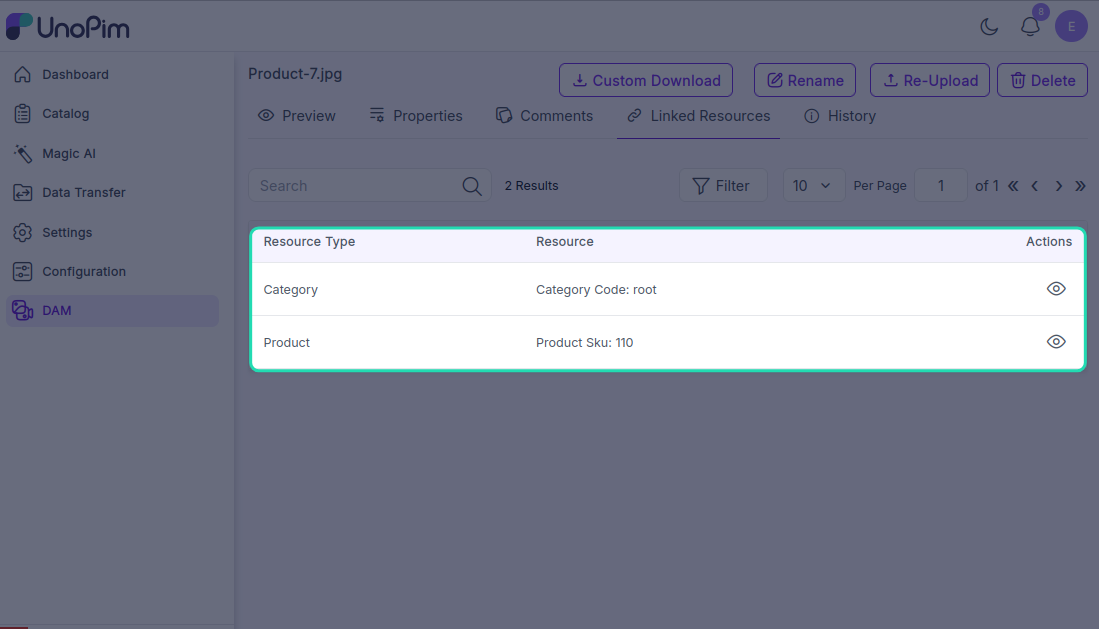
Note: Once an asset is assigned to a product or category, it will appear in the Linked Resources tab of that asset — giving you a clear view of everywhere the asset is being used across your catalog.