
Installation
Follow the step-by-step instructions below to manually install and set up the Auto SKU Generator extension in your UnoPim project.
Steps
1. Place the package
Download and unzip the extension. Rename the folder to AutoSkuGenerator and place it at:
packages/Webkul/AutoSkuGenerator/2. Register the service provider
Add to bootstrap/providers.php:
use Webkul\AutoSkuGenerator\Providers\AutoSkuGeneratorServiceProvider;

return [
    // ...existing providers...
    AutoSkuGeneratorServiceProvider::class,
];
NOTE
This registers the AutoSkuGeneratorServiceProvider in the Laravel application's service container, allowing it to load and manage related services.
3. Update Composer autoload
In composer.json, add under autoload.psr-4:
"Webkul\\AutoSkuGenerator\\": "packages/Webkul/AutoSkuGenerator/src"TIP
This configures PSR-4 autoloading so that classes under the Webkul\AutoSkuGenerator namespace can be loaded automatically from the package src directory.
4. Run the installer
Run these commands in order:
composer dump-autoload
php artisan migrate
php artisan optimize:clear| Command | Purpose |
|---|---|
composer dump-autoload | Regenerates Composer's autoloader mapping to include the newly added namespace. |
php artisan migrate | Runs the database migrations to create the tables required by the extension. |
php artisan optimize:clear | Clears all cached files (bootstrap, configuration, routes, and views) to load the new changes. |
5. Publish assets (optional)
If you need to publish views or config files for customization:
php artisan vendor:publish --provider="Webkul\AutoSkuGenerator\Providers\AutoSkuGeneratorServiceProvider"| Command | Purpose |
|---|---|
php artisan vendor:publish --provider="Webkul\AutoSkuGenerator\Providers\AutoSkuGeneratorServiceProvider" | Publishes Auto SKU Generator package resources (such as config/views) for customization. |
6. Verify
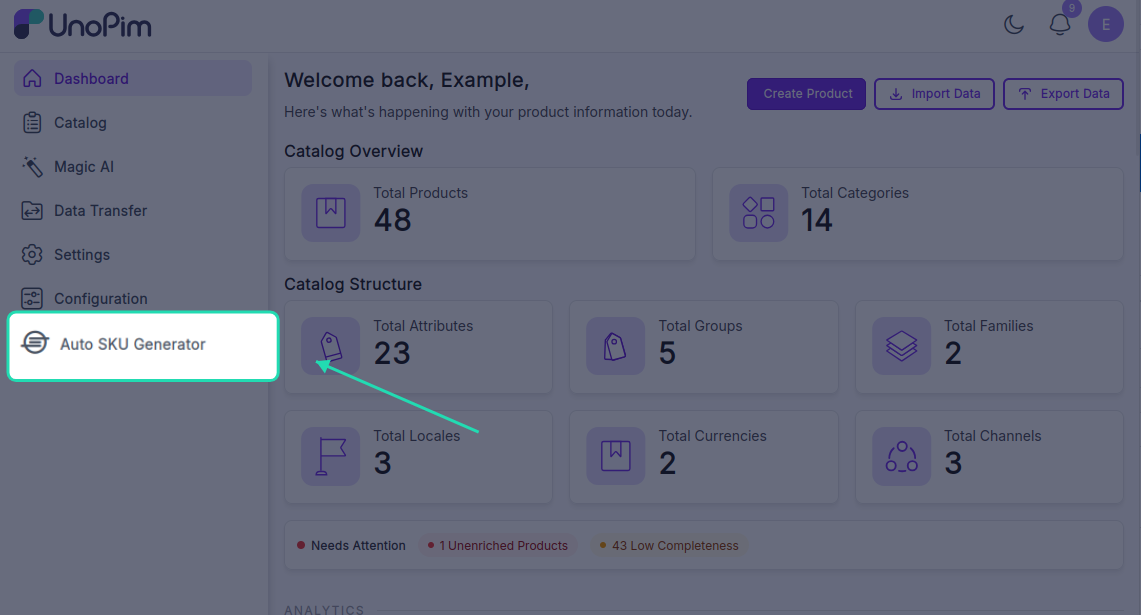
Open the Unopim admin panel — an Auto SKU Generator item should appear in the sidebar. Navigate to it to begin configuring your SKU rules.