Installation
Follow the steps below to install the UnoPim Job Scheduler. You'll need terminal access to your server before getting started.
Step 1 - Add the Package
Place the package at the following location in your UnoPim project:
packages/Webkul/JobScheduler/Then open your root composer.json and add the PSR-4 autoload entry under autoload > psr-4:
{
    "autoload": {
        "psr-4": {
            "Webkul\\JobScheduler\\": "packages/Webkul/JobScheduler/src"
        }
    }
}
Step 2 - Register the Service Provider
Open bootstrap/providers.php and append JobSchedulerServiceProvider to the providers array:
<?php

use Webkul\JobScheduler\Providers\JobSchedulerServiceProvider;
// ... other use statements

return [
    // ... other providers
    JobSchedulerServiceProvider::class,
];
NOTE
This registers JobSchedulerServiceProvider in Laravel so the module can bootstrap scheduler services, bindings, and package configuration during application startup.
Step 3 - Register the Concord Module Provider
UnoPim uses Concord for model discovery. Open config/concord.php and add the Job Scheduler module provider to the modules array:
return [
    'convention' => CoreConvention::class,

    'modules' => [
        // ... other modules
        Webkul\JobScheduler\Providers\ModuleServiceProvider::class,
    ],
];
Step 4 - Dump Autoload and Run the Installer
Run the following two commands in order:
composer dump-autoload
php artisan job-scheduler:install| Command | Purpose |
|---|---|
composer dump-autoload | Regenerates Composer's autoloader mapping to include the newly added namespace. |
php artisan job-scheduler:install | Runs the Job Scheduler installer and required database migrations. |
The installer runs the 4 required database migrations - destinations, jobs, executions, and logs.
Alternatively, run the migrations manually:
php artisan migrate --path=packages/Webkul/JobScheduler/Database/Migration --force| Command | Purpose |
|---|---|
php artisan migrate --path=packages/Webkul/JobScheduler/Database/Migration --force | Runs only Job Scheduler migration files directly from the package path. |
Note: Tables are created using your configured
DB_PREFIX. For example, if your prefix isjob_, the jobs table will be namedjob_job_scheduler_jobs.
Step 5 - Set Up the Cron Entry
The scheduler needs a single crontab entry on your server. Laravel's built-in task scheduler handles all the job timing logic from there - you don't need a separate cron entry for each job.
Open your crontab:
crontab -e| Command | Purpose |
|---|---|
crontab -e | Opens the current user's crontab editor to add or update scheduled cron entries. |
Add the following line, replacing /path/to/your/unopim with your actual project path:
* * * * * cd /path/to/your/unopim && php artisan schedule:run >> /dev/null 2>&1| Command | Purpose |
|---|---|
* * * * * cd /path/to/your/unopim && php artisan schedule:run >> /dev/null 2>&1 | Runs Laravel's scheduler every minute so due scheduled tasks are dispatched on time. |
This runs every minute and lets Laravel check which scheduled jobs are due to execute.
Step 6 - Start the Queue Worker
Scheduled jobs are dispatched to the job-scheduler queue. A queue worker must be running for them to execute.
For local development or testing:
php artisan queue:work --queue=job-scheduler| Command | Purpose |
|---|---|
php artisan queue:work --queue=job-scheduler | Starts a queue worker dedicated to processing Job Scheduler queue jobs. |
For production - use Supervisor:
In production, use Supervisor to keep the worker running reliably. If it crashes or the server restarts, Supervisor will bring it back automatically.
Create a Supervisor config file (e.g., /etc/supervisor/conf.d/job-scheduler-worker.conf) with the following contents:
[program:job-scheduler-worker]
process_name=%(program_name)s_%(process_num)02d
command=php /path/to/your/unopim/artisan queue:work --queue=job-scheduler --sleep=3 --tries=3 --max-time=3600
autostart=true
autorestart=true
stopasgroup=true
killasgroup=true
numprocs=2
redirect_stderr=true
stdout_logfile=/path/to/your/unopim/storage/logs/job-scheduler-worker.log
Key settings explained:
| Setting | What it does |
|---|---|
numprocs=2 | Runs two worker processes in parallel |
--tries=3 | Retries each failed job up to 3 times |
--max-time=3600 | Restarts workers after 1 hour to prevent memory leaks |
autostart / autorestart | Supervisor starts and restarts the worker automatically |
stdout_logfile | Worker logs are saved to your UnoPim storage/logs folder |
After creating the config file, activate it with:
sudo supervisorctl reread
sudo supervisorctl update
sudo supervisorctl start job-scheduler-worker:*| Command | Purpose |
|---|---|
sudo supervisorctl reread | Reloads Supervisor configuration files without restarting Supervisor. |
sudo supervisorctl update | Applies newly added or changed Supervisor program definitions. |
sudo supervisorctl start job-scheduler-worker:* | Starts all configured Job Scheduler worker processes under Supervisor. |
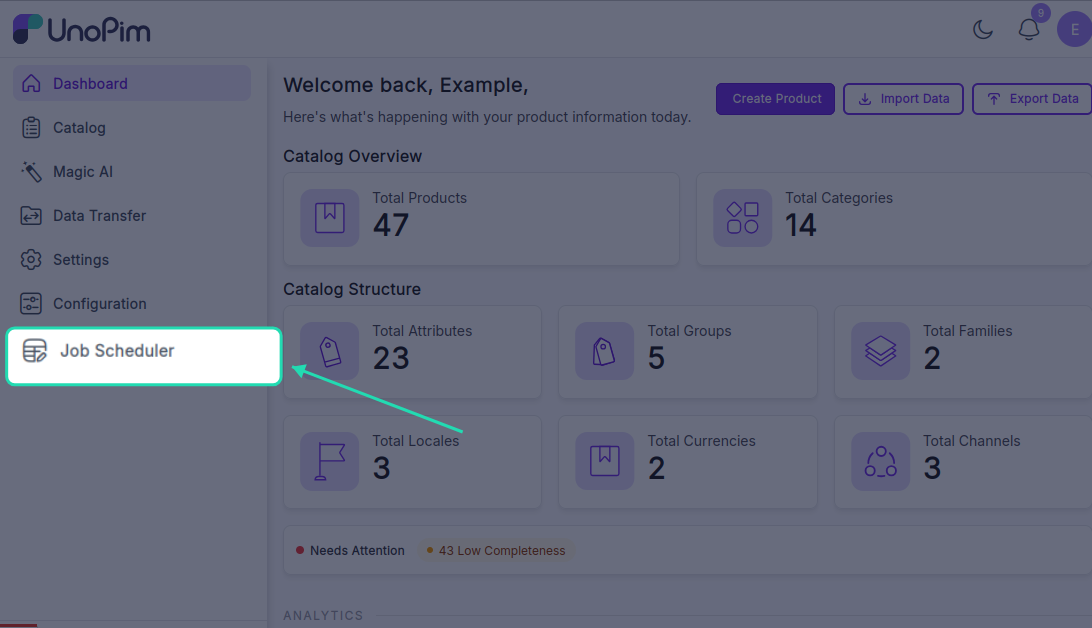
Verify the Installation
Once all steps are complete, log in to your UnoPim dashboard. You should see the Job Scheduler option in the left sidebar - confirming the extension is installed and ready to use.