

Adding Assets to Products
You can attach digital assets — like images, videos, or documents — directly to your products in UnoPim. Here's how to create a product and link assets to it.
Step 1 — Open the Products Section
Go to Catalog → Products from the left sidebar. This page shows all your existing products, where you can view, edit, copy, or delete them.
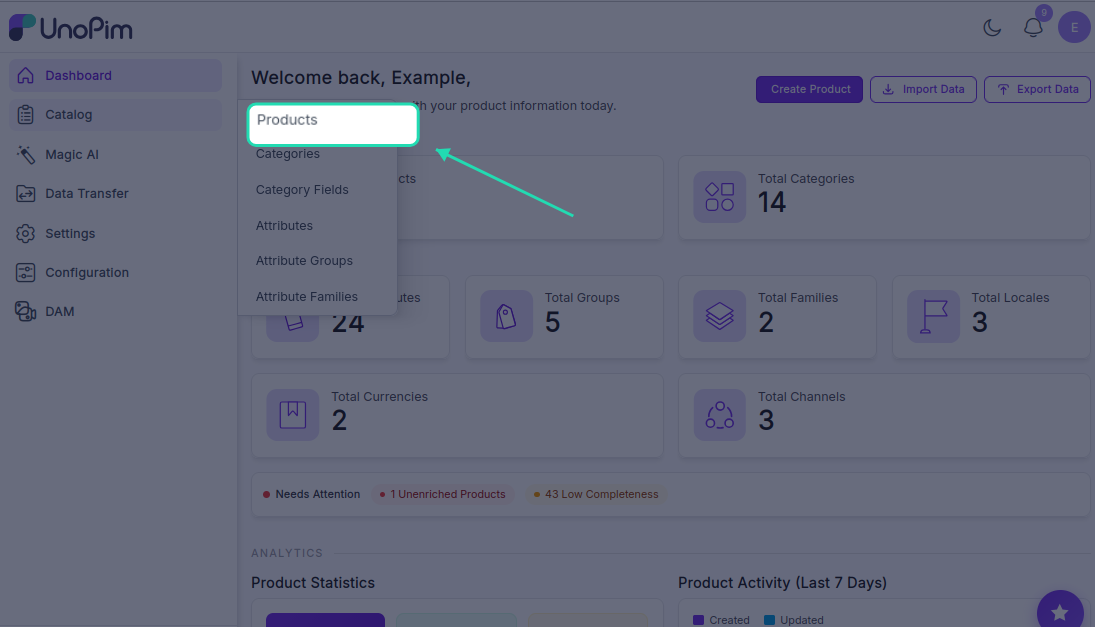
Step 2 — Create a New Product
Click the Create Product button and fill in the following:
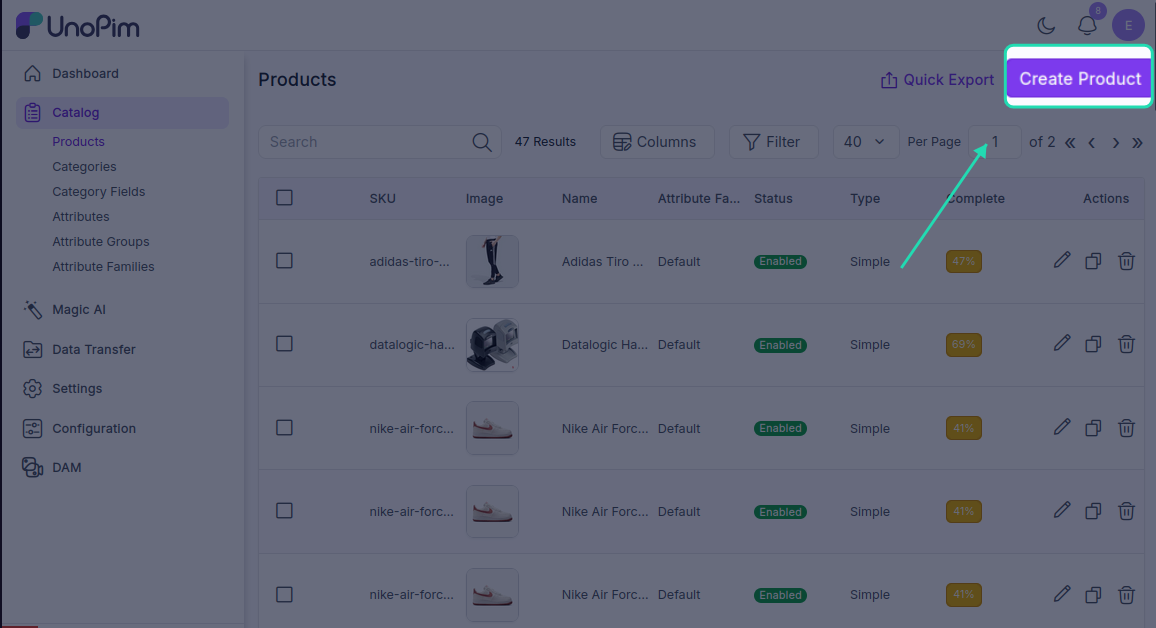
- Product Type — choose Simple for a standard product or Configurable for a product with variants like size or colour
- Family — select the attribute family this product belongs to
- SKU — enter a unique identifier for the product
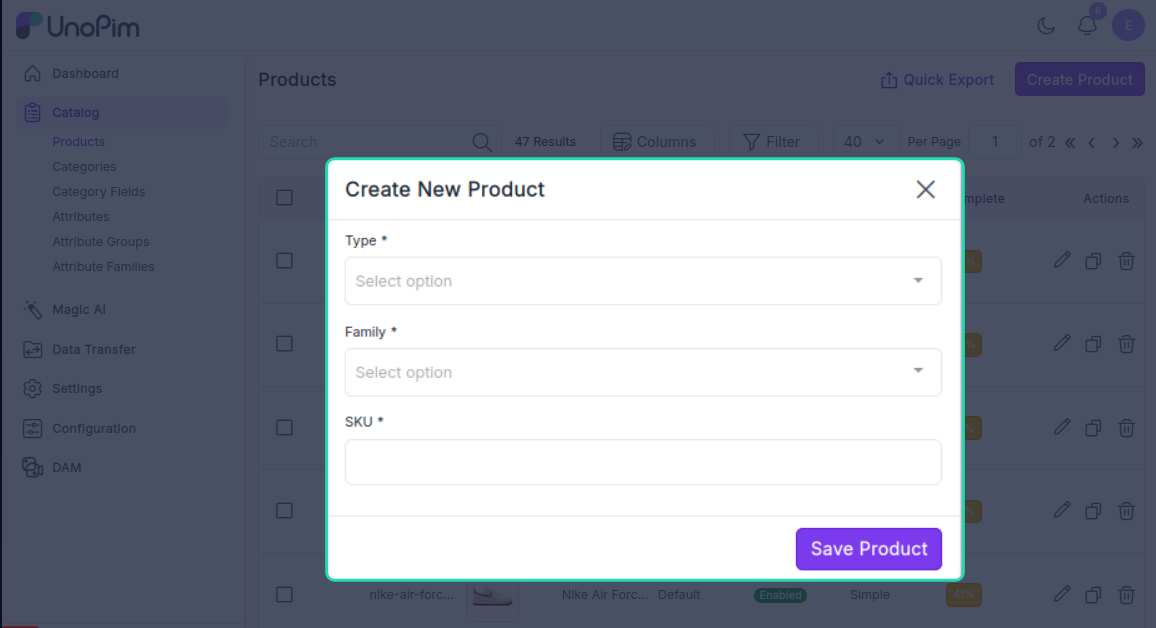
Click Save. The product will now appear in the products list.
Step 3 — Add Product Details
Open the newly created product and fill in the relevant information:
- Name
- Category
- ERP Name
- Price
- Any other fields required by the product family
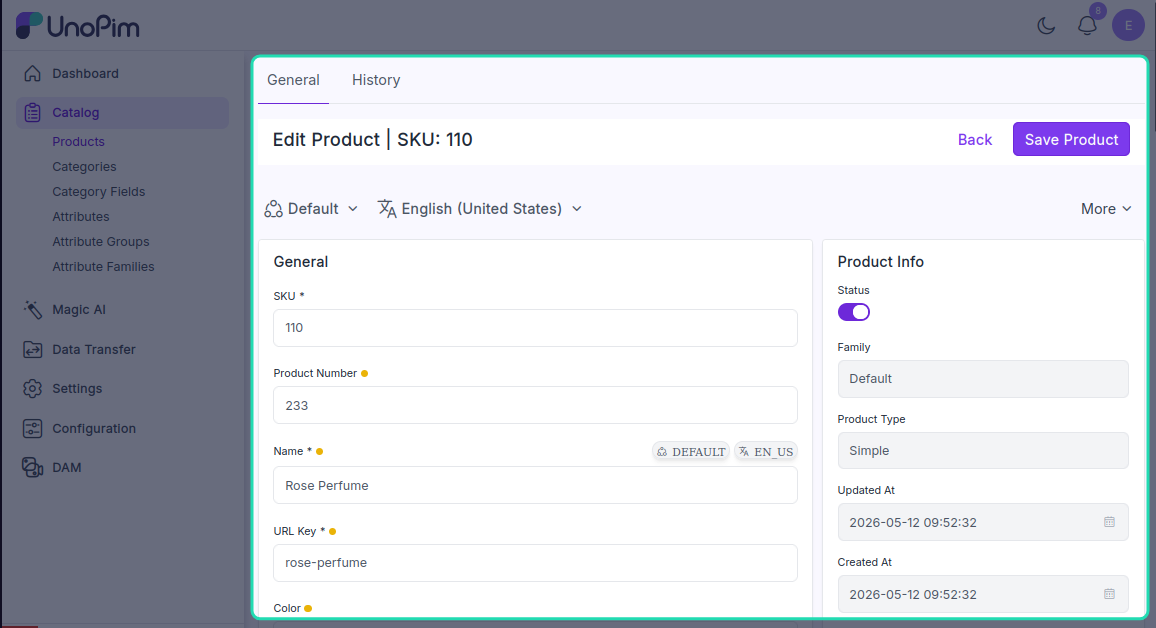
Step 4 — Assign Assets to the Product
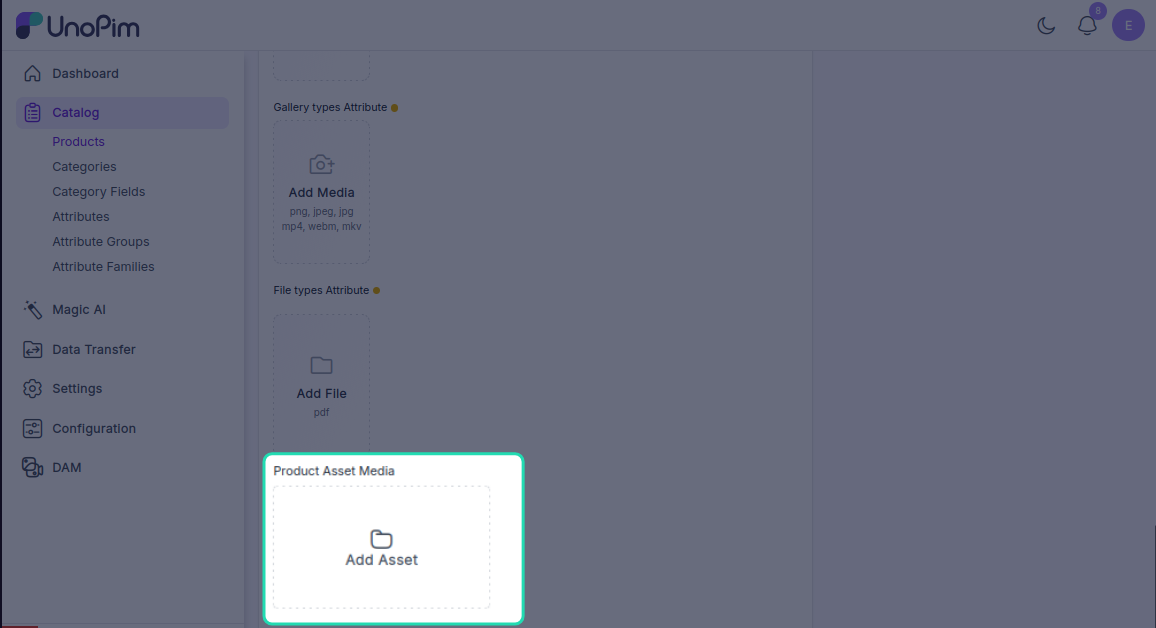
Scroll down to the Media Attribute Group section. Here you'll find the Add Assets button — click it to open the asset picker.
The asset picker shows all the assets you've uploaded across your directories. You can:
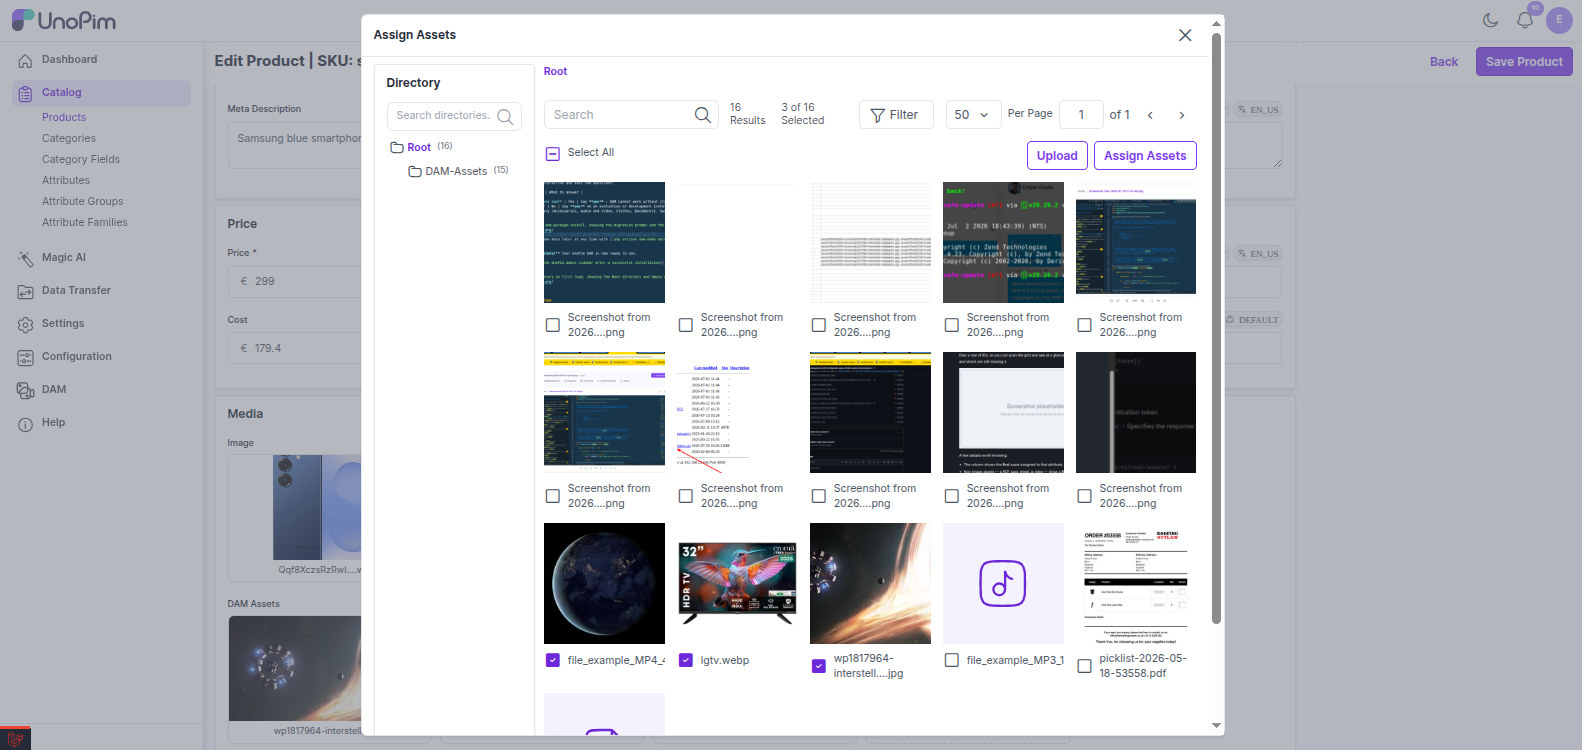
- Click All to select every available asset
- Click individual assets to select them one by one
Filtering Assets
If you have a large library, use the filters to find what you need quickly:
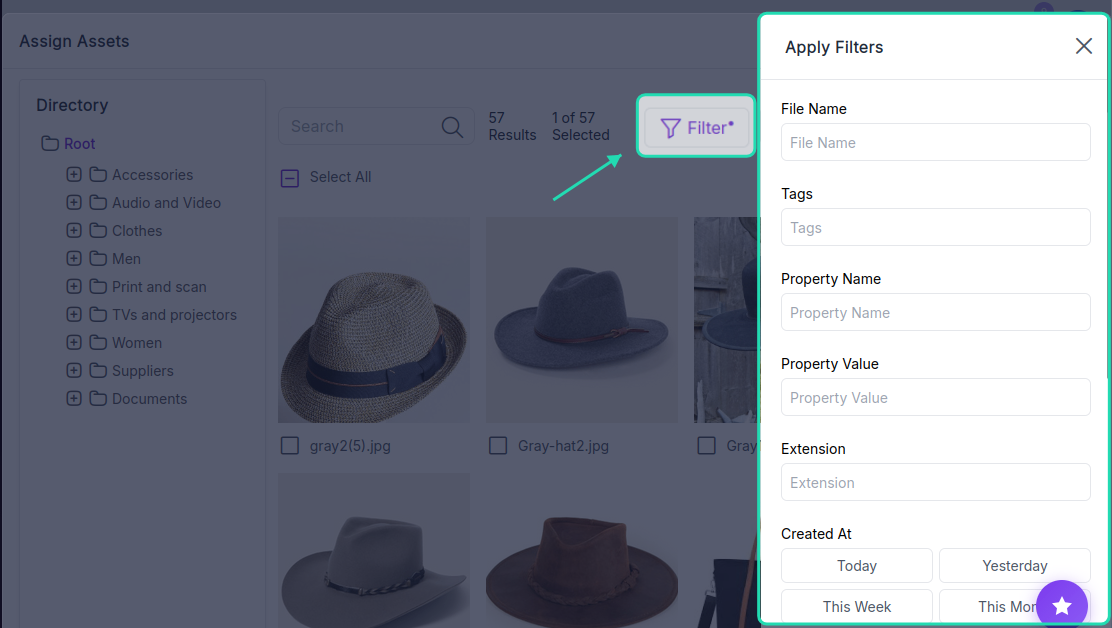
| Filter | What it does |
|---|---|
| File Name | Search by the original file name of the asset |
| Tag | Filter by keywords or categories attached to the asset |
| Extension | Filter by file type — e.g., .jpg, .mp4, .pdf |
| Created Date | Filter by when the asset was uploaded |
| Updated Date | Filter by the last time the asset was modified |
| Property Name | Filter by a metadata attribute like resolution or duration |
| Property Value | Filter by a specific attribute value — e.g., High Resolution |
| Asset Name | Search by the asset's name or title |
You can also browse assets by directory if you want to pull from a specific folder.
Once you've selected the assets you want, click Assign. All selected assets will be linked to the product.
Step 5 — Manage Assigned Assets
Once assets are assigned, hover over any asset thumbnail to see three options:
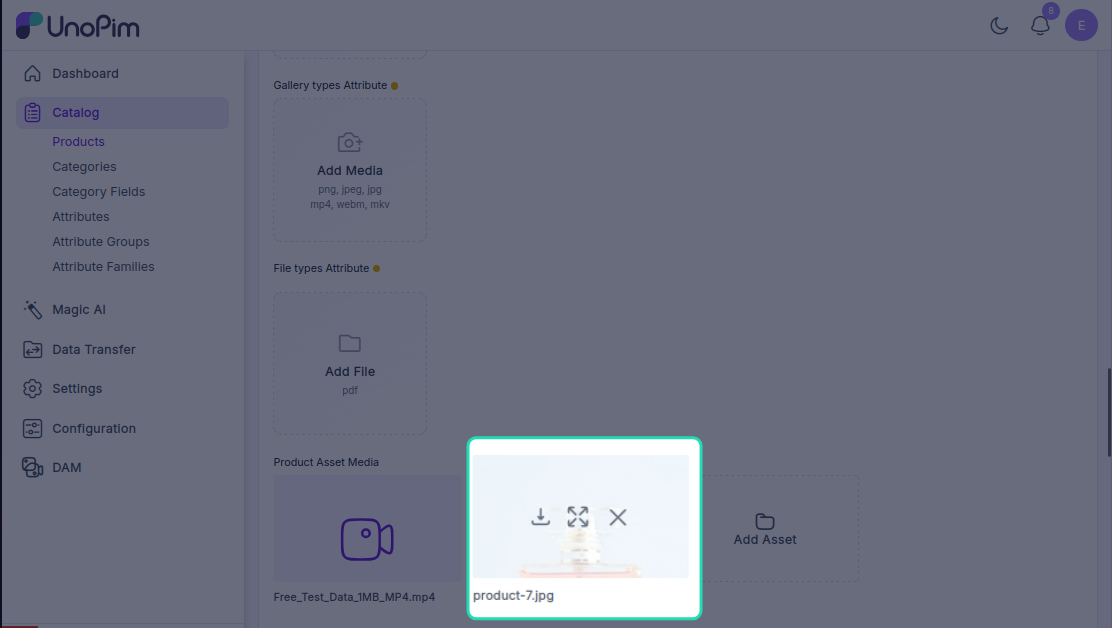
| Option | What it does |
|---|---|
| Preview | Opens a full preview of the asset |
| Download | Downloads the asset to your device |
| Remove | Unlinks the asset from the product |
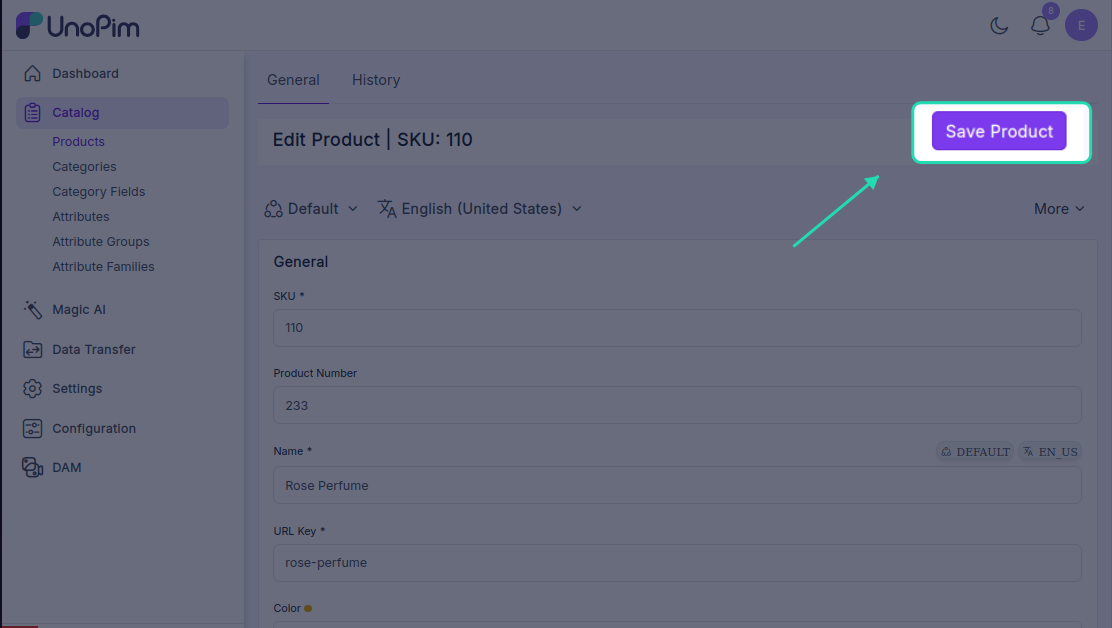
Step 6 — Save the Product
Click Save to finalise the product with its assigned assets. Once saved, the assets will be included when you export the product to Shopify or any other connected platform.
Step 7 — See Assets in the Products Grid
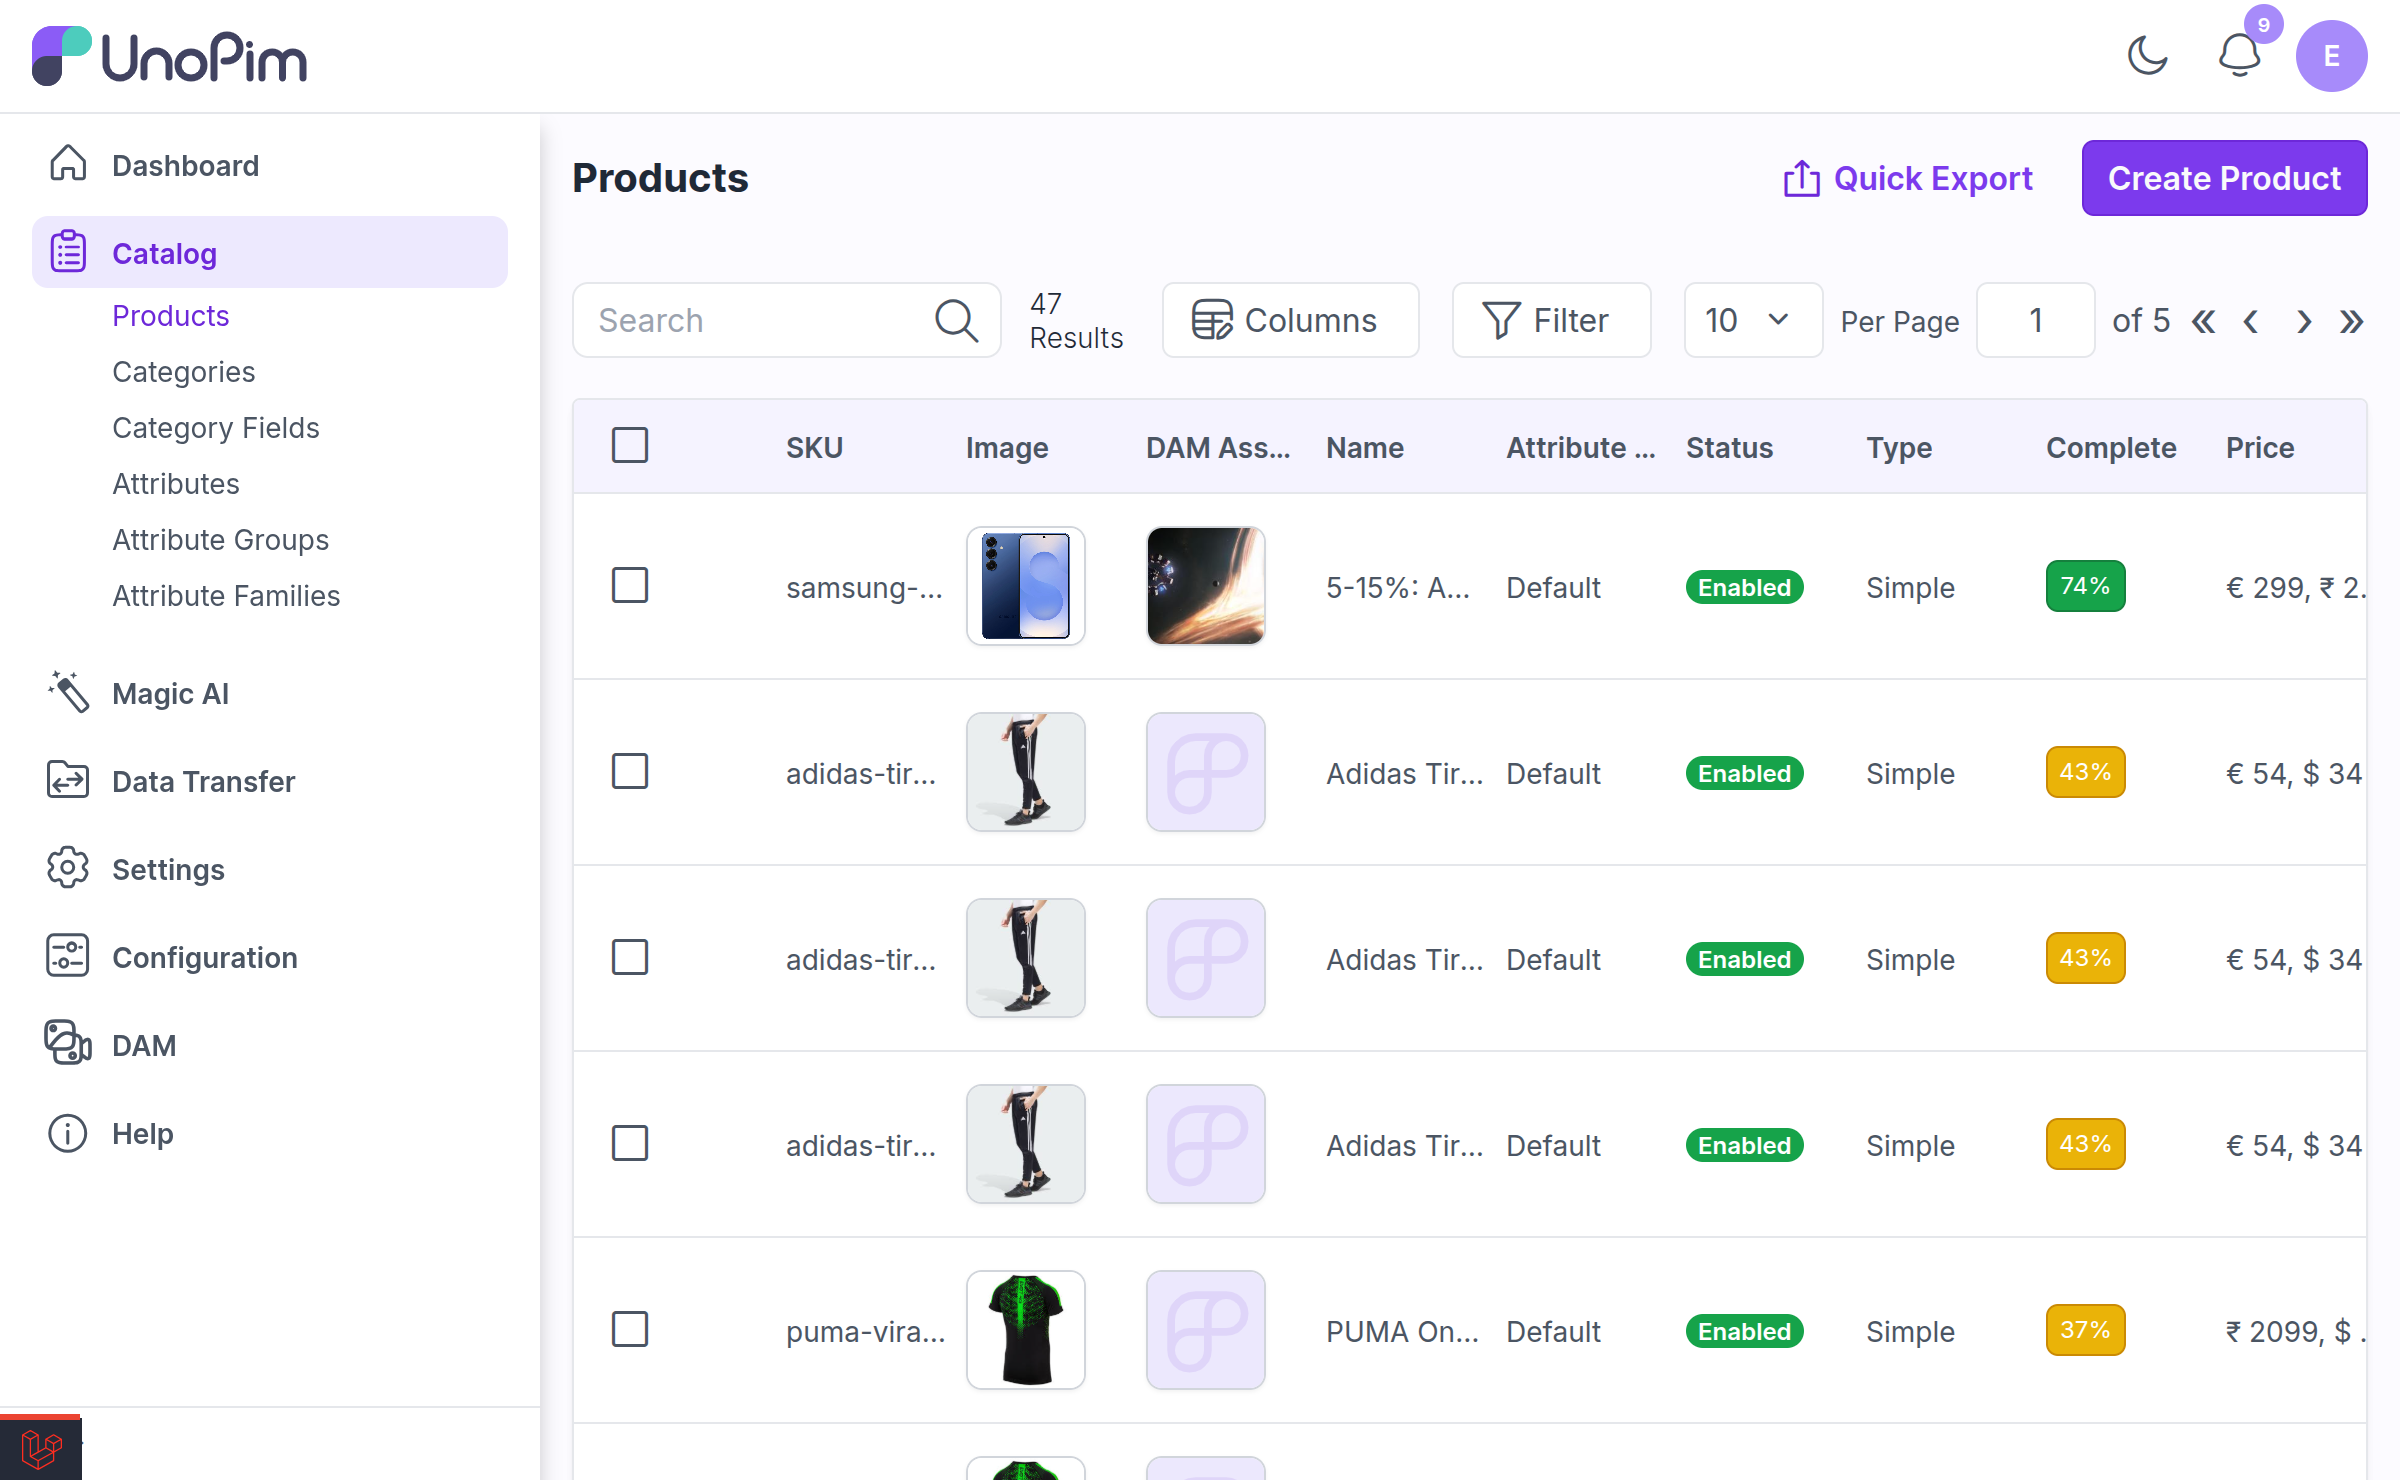
Back on Catalog → Products, an asset attribute is rendered as an image column rather than a row of IDs, so you can scan the grid and see at a glance which products have media and which are still missing it.
A few details worth knowing:
- The column shows the first asset assigned to that attribute, not all of them.
- Non-image assets — a PDF spec sheet, a video — show a file-type placeholder instead of a thumbnail.
- Products with nothing assigned show an empty cell.
TIP
This is the fastest way to audit media coverage across a catalogue. Sort or filter the grid, then scan the column for empty cells.
Assigning Assets in Bulk
Attaching assets one product at a time does not scale. Two routes handle volume:
- Product Bulk Edit — set an asset attribute across many products from one screen
- Importing Products with Assets — assign media to thousands of products from a CSV