
Managing Directories and Assets in UnoPim DAM
After installing UnoPim, you'll notice a DAM (Digital Asset Management) icon in the left sidebar. Clicking it opens the media library — a central place where you can organise all your digital assets into folders, upload files, and manage everything from one screen.

Working with Directories
Directories are simply folders that help you keep your assets organised. You can create as many as you need, nest them inside each other, and manage them with a right-click.
Right-Click Menu Options
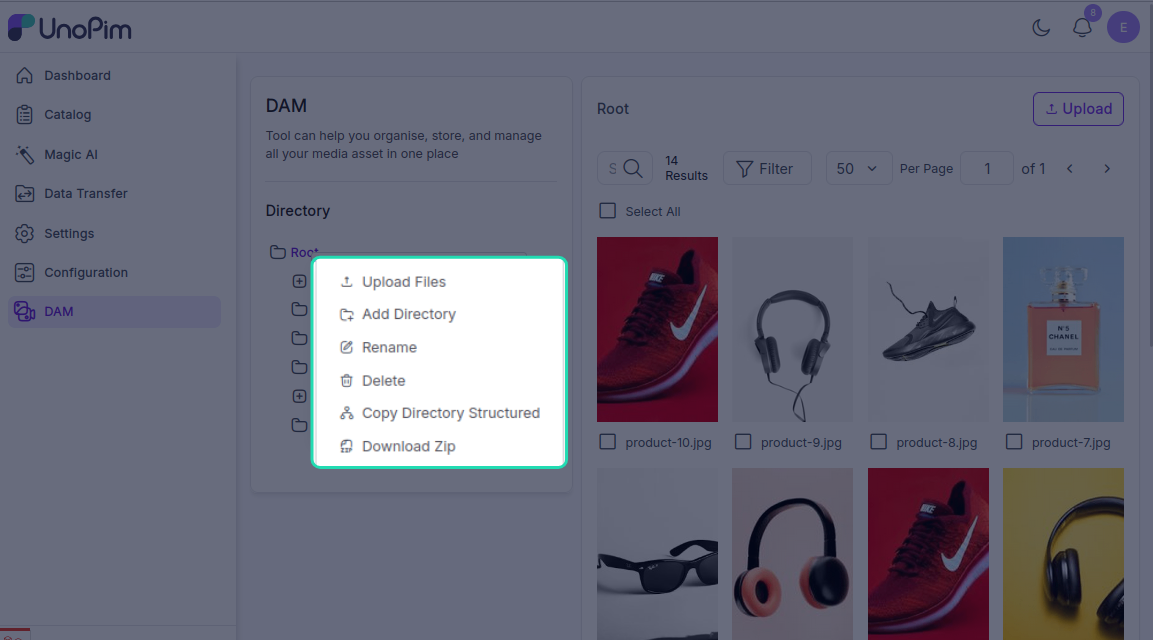
Right-click on the root directory or any folder you've created to see the following options:
| Option | What it does |
|---|---|
| Upload Files | Upload one or multiple files directly into the selected folder |
| Upload Folder | Upload an entire folder tree — DAM recreates the structure for you. See Uploading Assets |
| Add Directory | Create a new subfolder inside the current directory |
| Rename | Change the name of a folder to keep things identifiable |
| Delete | Permanently remove a folder from the system — use with care |
| Copy Directory Structure | Copies the folder structure (without the files) — useful when you want to recreate the same layout elsewhere |
| Download Zip | Downloads all contents of the folder as a ZIP file — handy for backups or bulk transfers |
| Share Directory | Creates a public link to the folder for someone outside UnoPim. See Shared Links |
| Copy | Puts the folder on the clipboard, ready to duplicate elsewhere |
| Cut | Puts the folder on the clipboard, ready to move elsewhere |
| Paste | Drops the copied or cut folder into the folder you right-clicked |
NOTE
The options you see depend on your permissions and on which directories your role can access. Folders you can see but not act on are shown as view-only. See Directory Permissions.
Copy, Cut and Paste
These three work like a desktop file manager. Copy or Cut a folder, right-click the destination, then Paste.
- Copy → Paste duplicates the folder and everything inside it.
- Cut → Paste moves it instead.
Both are queued background jobs on anything but a tiny folder — you will see a progress indicator while the work completes. See Background Operations.
Deleting Several Folders at Once
You do not have to delete folders one at a time. Select multiple folders and delete them in a single action.
WARNING
Folder deletion is recursive — every subfolder and every asset inside goes with it, and it cannot be undone. DAM asks you to confirm and tells you how many items are affected before proceeding.
Two guardrails apply:
- The Root directory cannot be deleted, whether on its own or as part of a selection.
- Permissions are re-checked per folder at the moment of deletion, not just when you made the selection. A folder your role cannot access is skipped rather than failing the whole batch.
Finding a Directory
On a large library, walking the tree gets tedious. Use the search box above the directory tree to find a folder by name — type any part of it and DAM returns the matches, each with its full ancestor path so you can tell Summer under Marketing apart from Summer under Archive.
The same search is available inside the asset picker, so you can find the right folder while assigning an asset to a product.
Asset Counts
Each folder in the tree shows a recursive asset count — the number of assets inside it and all its subfolders. It is the quickest way to see where the weight of your library sits.
Showing Assets Inside the Tree
By default the tree shows folders only. You can make asset files appear as leaf nodes inside the tree by enabling Show Assets in Directory Tree in Configuration.
When enabled, assets load lazily — directories arrive in batches of 100 with a Load more control, and a folder's assets are only fetched when you expand it. This keeps the tree usable on large libraries, but it is still heavier than folders-only. Leave it off unless you need it.
Moving Things Around
Drag a folder or an asset onto another folder to move it. While a move, upload, or mass action is running, DAM locks the interactions that would conflict with it and shows a spinner on the affected folder, so you cannot accidentally move something out from under a running job.
Creating a New Directory
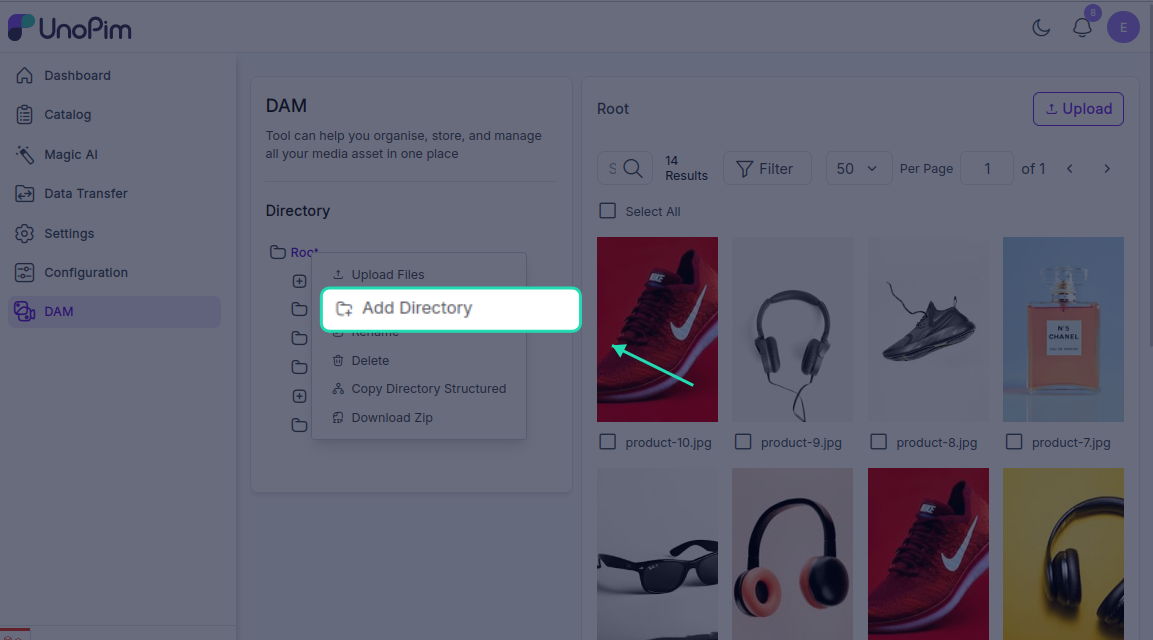
- Right-click on the directory where you want to add a subfolder.
- Click Add Directory.
- Enter a name for the new folder.
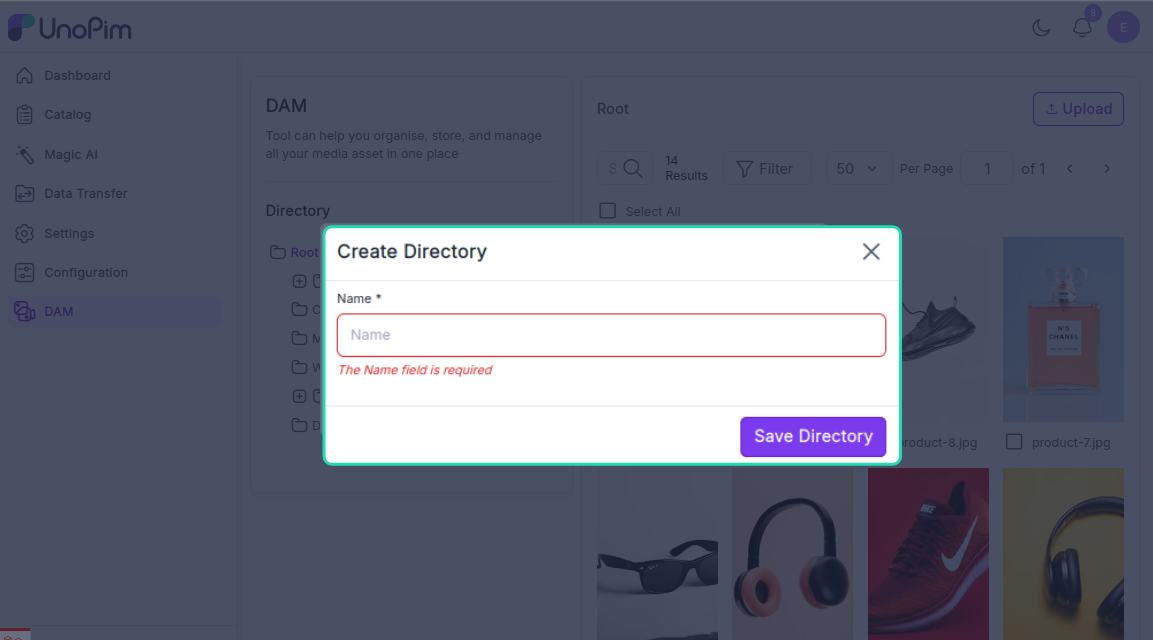
- Click Save Directory.
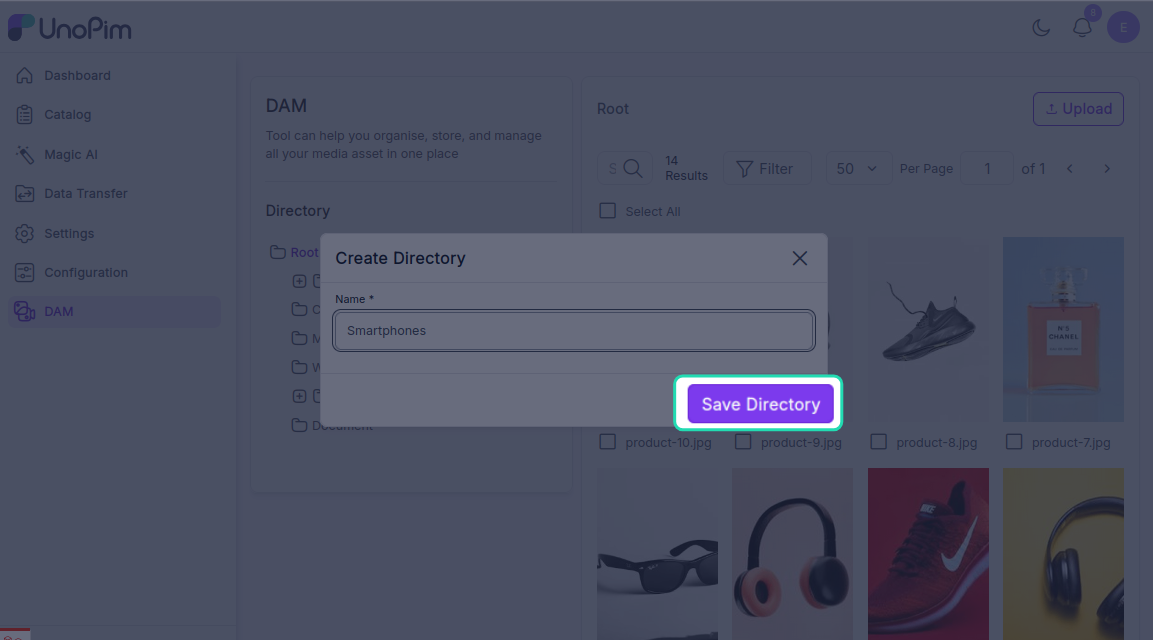
The new subfolder will appear immediately inside the selected directory.
Uploading and Managing Assets
Once your folders are set up, you can start adding assets.
Uploading Files
Click the Upload button to add files to the current directory, or drag them straight onto the gallery from your desktop. You can upload multiple files — or an entire folder — at once. Supported asset types include images, videos, documents, and audio files.
Large uploads run in the background with a progress panel you can pause, resume, cancel, and retry. See Uploading Assets for the full picture, including the file size limit and which file types are blocked.
Editing or Deleting an Asset
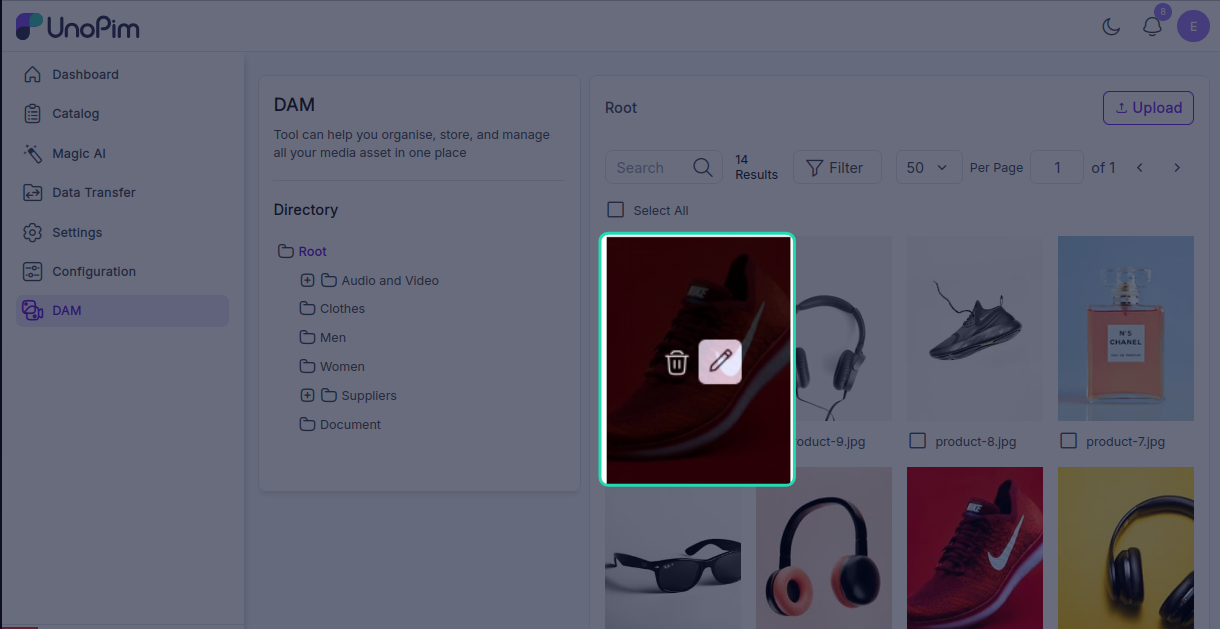
Each asset has an Edit and a Delete button:
- Edit — opens the asset editor where you can make changes
- Delete — permanently removes the asset from the directory
Clicking anywhere else on the card opens the asset preview.
Mass Actions
Select several assets in the gallery to act on them together:
| Mass action | What it does |
|---|---|
| Assign Tags | Adds tags to every selected asset. Select folders too and everything inside them is tagged recursively. Existing tags are kept. See Managing Tags |
| Delete | Permanently deletes the selected assets |
Asset Edit Options
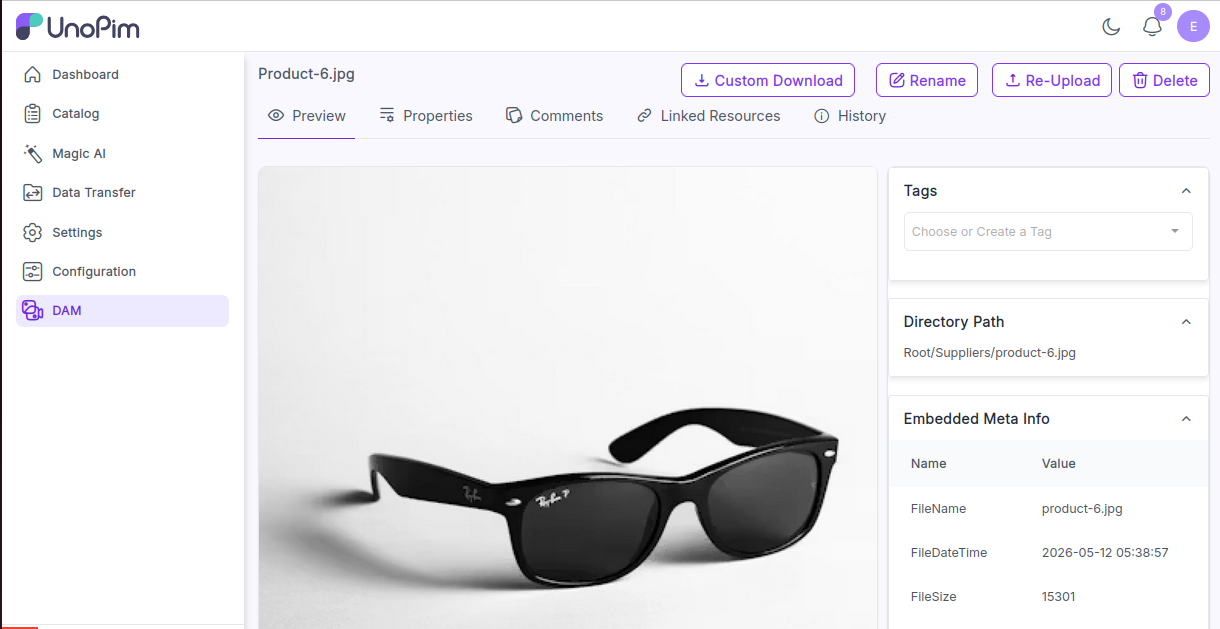
When you click Edit on an asset, you'll see the following sections:
A breadcrumb at the top shows the asset's full folder path, and each segment links back to that directory. The previous / next arrows move between assets within the same directory.
Preview
View the asset and inspect its embedded metadata — including meta information, the directory path it lives in, and any tags attached to it.
Images, video, audio, and PDFs each render in a purpose-built viewer, right on the page. See Previewing Assets for zoom controls, the custom media players, and thumbnail generation.
Share
Create a public link so someone without an UnoPim account can view or download the asset. See Shared Links.
Edit Image
Crop, adjust, rotate, filter, or replace the background of an image — including AI-generated backgrounds. See Image Editor.
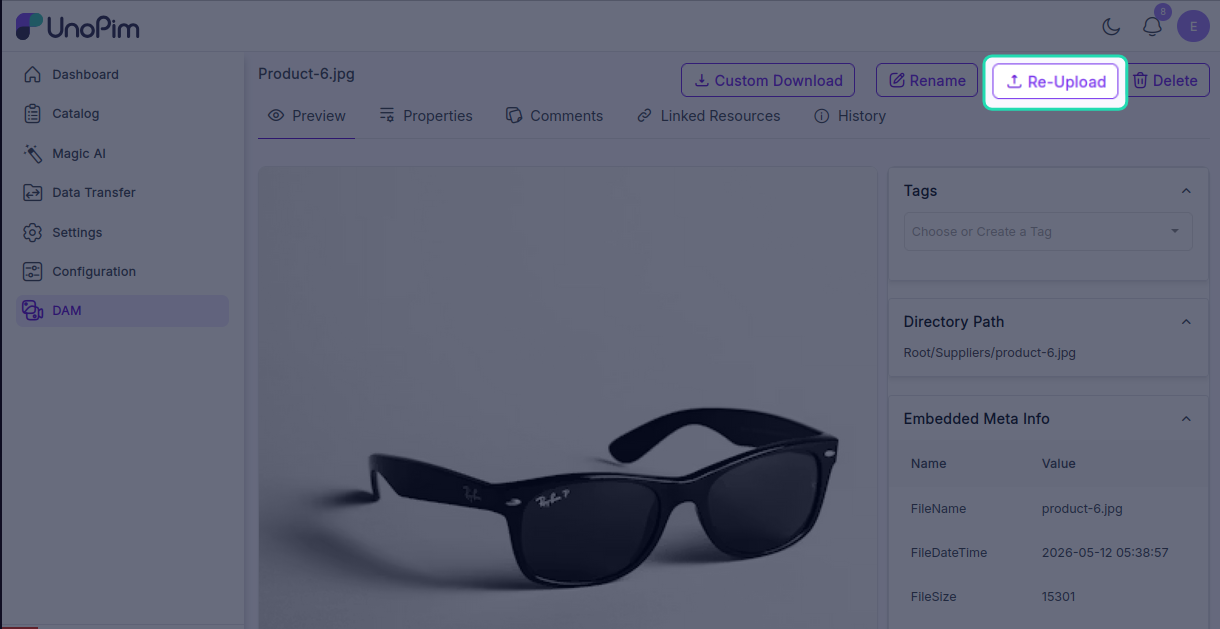
Re-upload
Replace the current file with a newer version while keeping the same asset record in UnoPim.
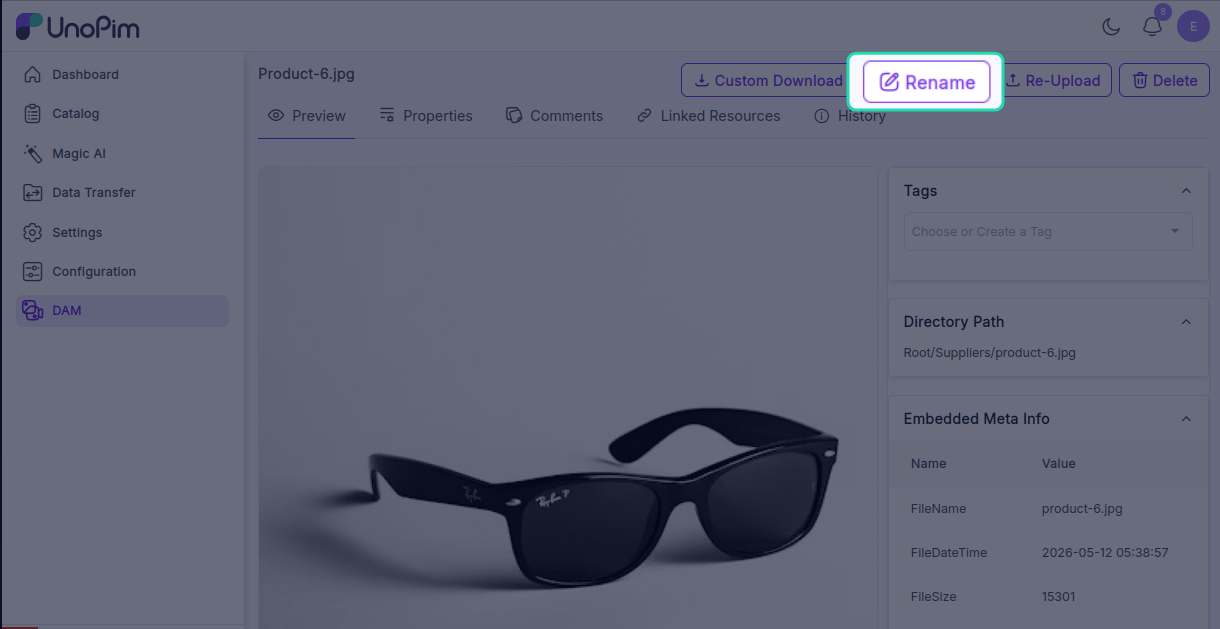
Rename
Change the name of the asset to keep your library organised and searchable.
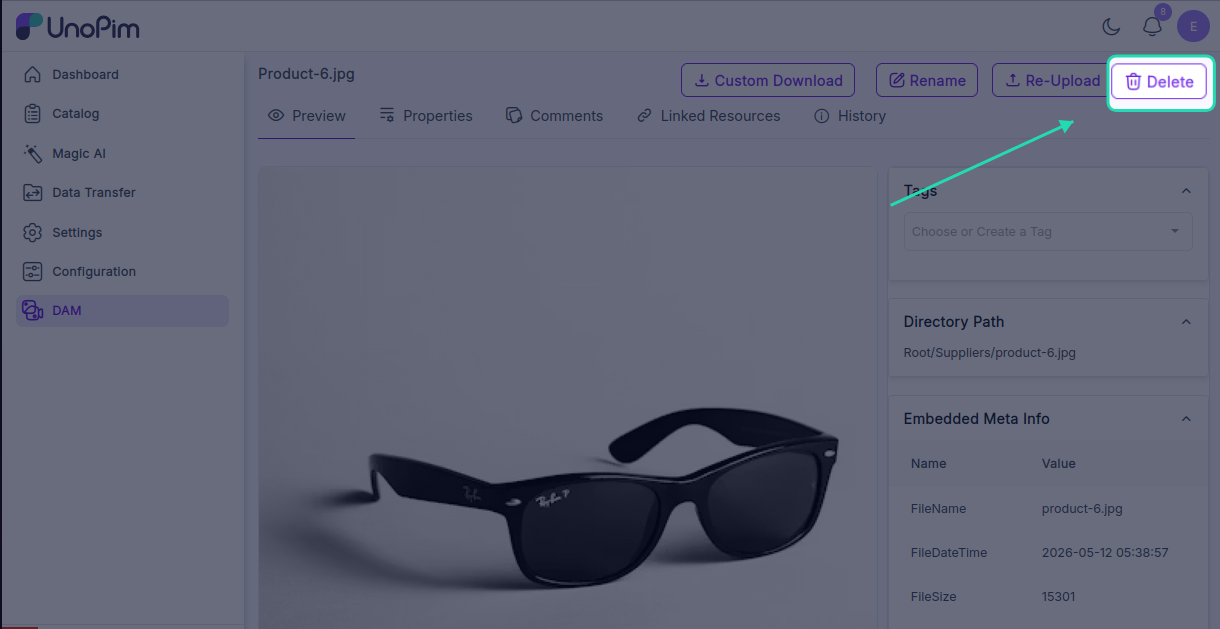
Delete
Remove the asset from the directory permanently.
Custom Download
Click Custom Download on any image to download it in a specific format or size. Available format options include:
- JPG
- PNG
- WebP
- JPEG
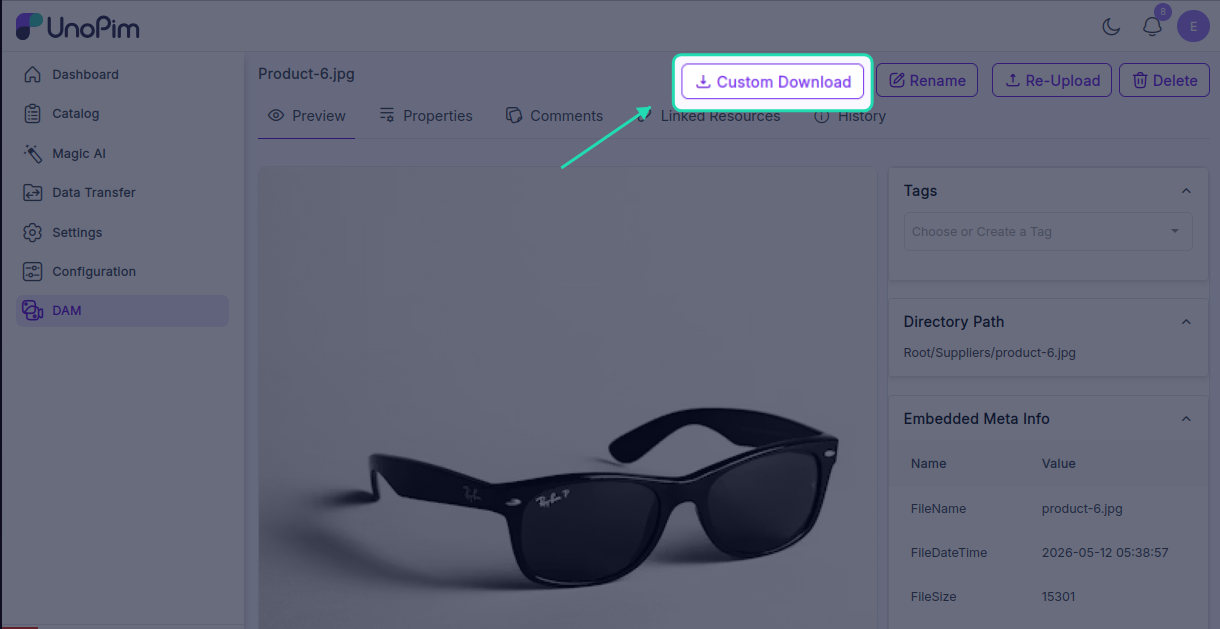
You can also set custom dimensions before downloading — useful when you need a specific image size for a particular use case.
Properties
Properties let you attach structured metadata to an asset — things like a label, type, language, or value.
To create a property:
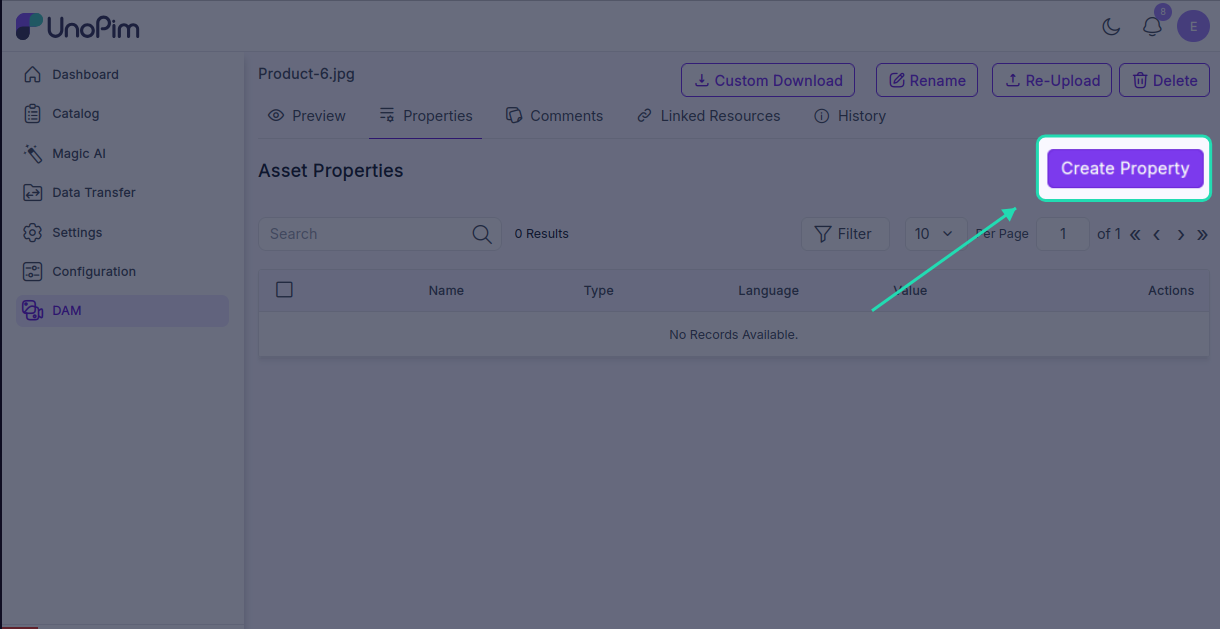
- Open the asset and go to the Properties section.
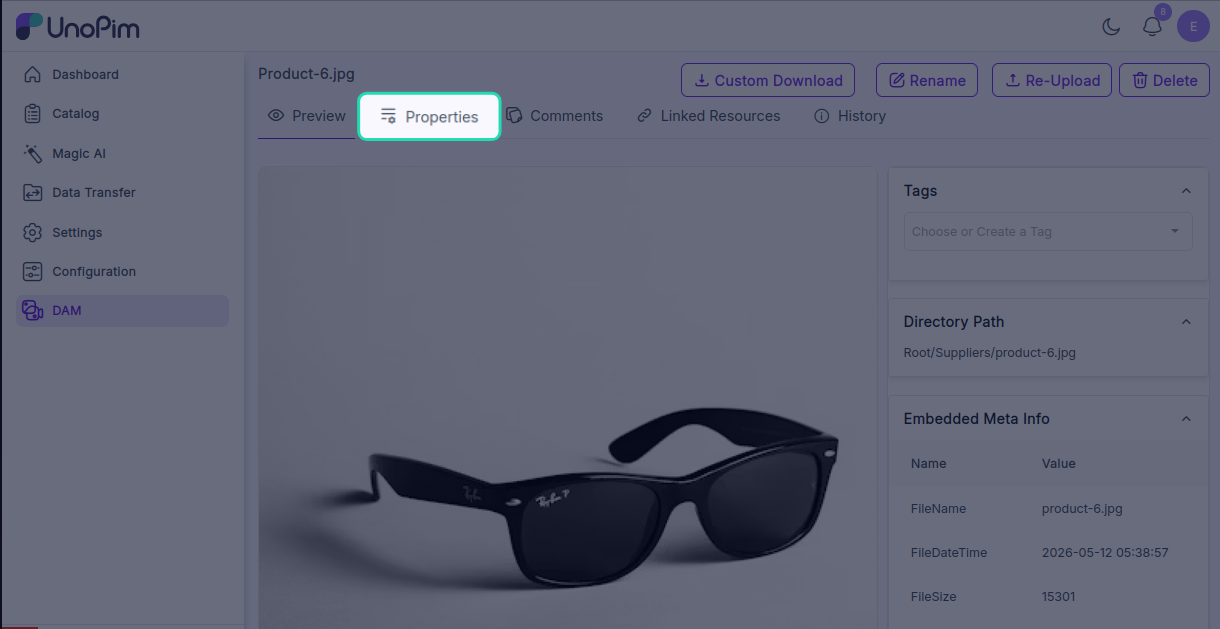
- Click Create Property.
- Fill in the Name, Type, Language, and Value fields.
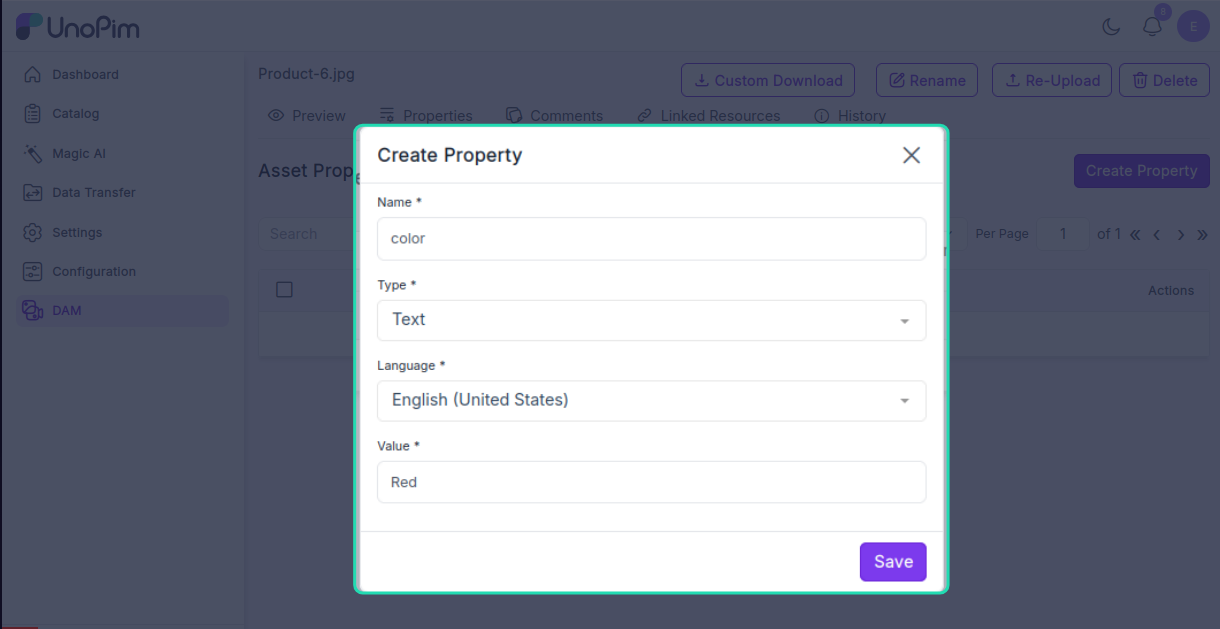
- Click Save.
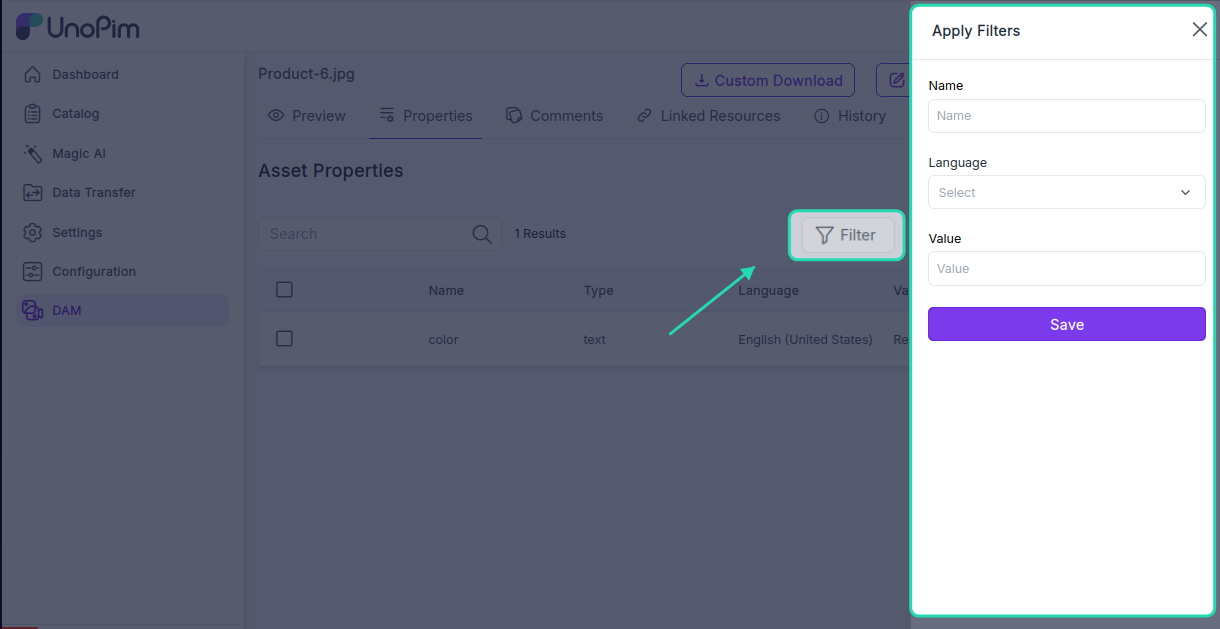
To find a specific property, click the Filter button and filter by:
- Name — search by the property name
- Language — show properties in a specific language
- Value — filter by a particular value
Filterable Properties
When you create a property you can mark it as filterable. Every property marked this way gets its own filter column in the asset gallery, so you can narrow the whole library down by that property's value — for example, show only assets where Copyright is Getty Images, or where Usage Rights is Expired.
Filterable properties are ordered by their sort order, so you control which ones surface first in the filter panel. Properties that are not marked filterable still work normally — they just do not appear as gallery filters.
TIP
Mark the handful of properties you actually search by as filterable and leave the rest alone. Every filterable property adds a column to the asset datagrid query.
Deleting Several Properties at Once
Assets that accumulate a lot of metadata get tedious to tidy one row at a time. Select the properties you no longer want and use the Delete mass action on the Properties tab.
The same permission and directory-access rules apply as for deleting a single property — the selection is re-checked server-side, so you cannot bulk-delete properties on an asset you cannot reach.
Comments
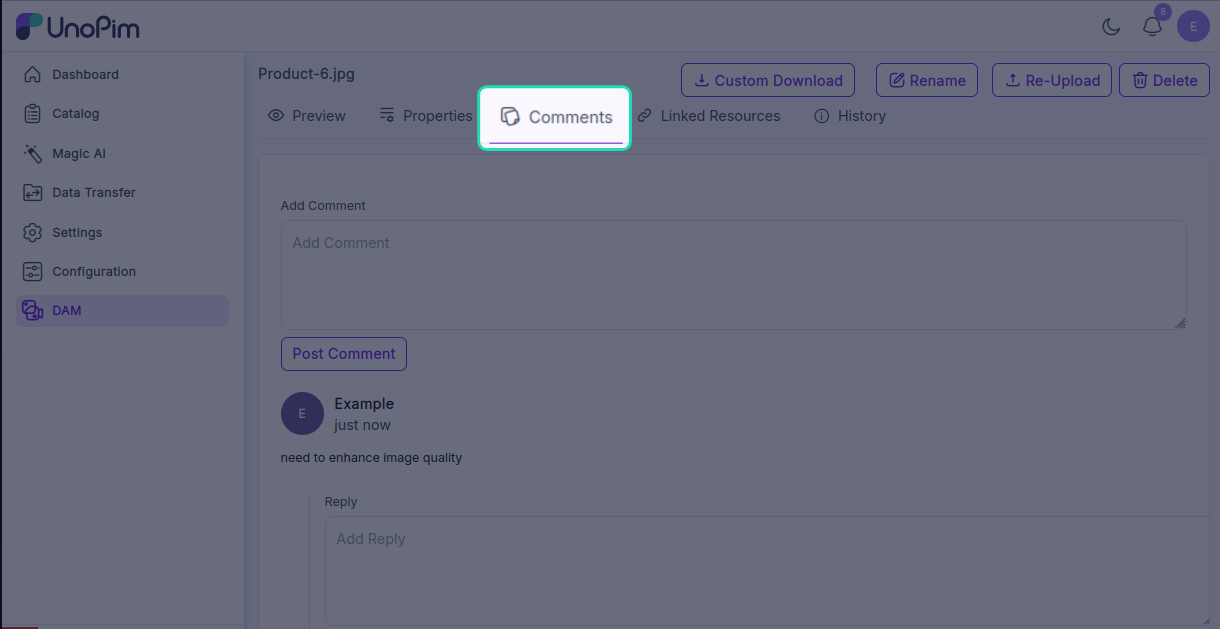
The Comments section lets you and your team leave notes directly on an asset. This is useful for giving feedback, flagging issues, or communicating changes without leaving the platform.
Comments support threaded replies, so a discussion about one detail stays together instead of scattering down the list.
| Action | Who can do it |
|---|---|
| Add a comment | Anyone with the Create Comment permission |
| Reply | Anyone who can comment |
| Edit | The author only |
| Delete | The author only |
IMPORTANT
Editing and deleting are restricted to whoever wrote the comment. Even an administrator with every DAM permission cannot edit someone else's comment — the check is on authorship, not on role.
If the account that wrote a comment has since been removed, the comment stays and is attributed to Deleted user rather than disappearing, so the thread still reads correctly.
Linked Resources
The Linked Resources tab shows all the products and categories that this asset has been assigned to. Two resource types are available:
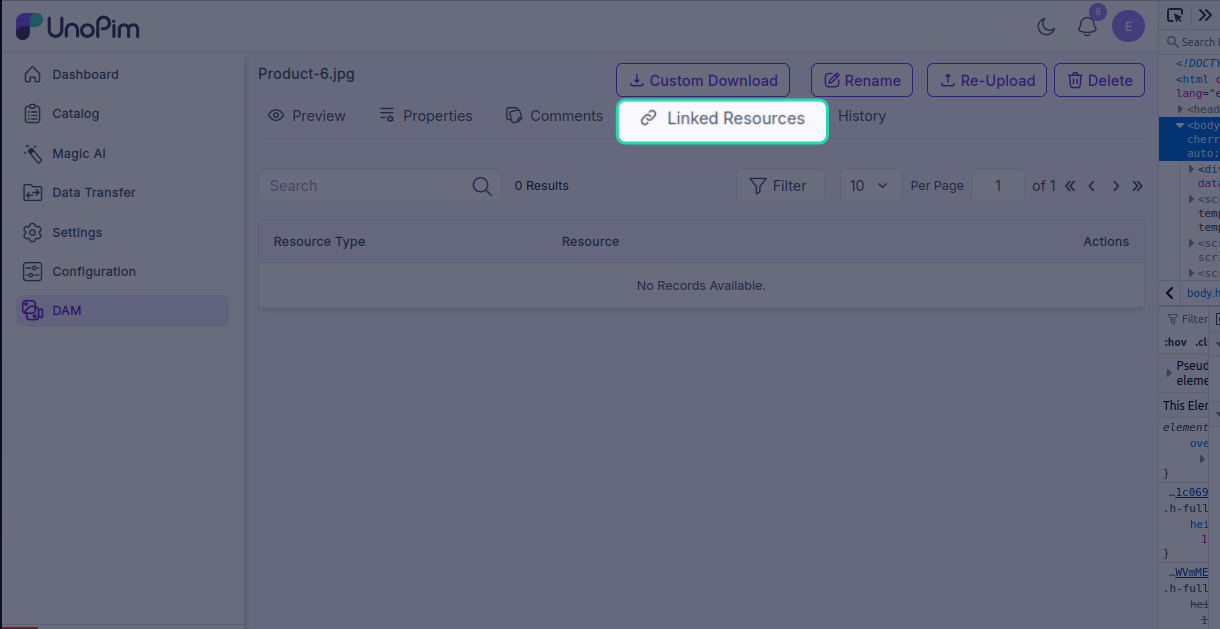
- Product — products linked to this asset
- Category — categories linked to this asset
Use the Filter button to narrow down the list by product or category.
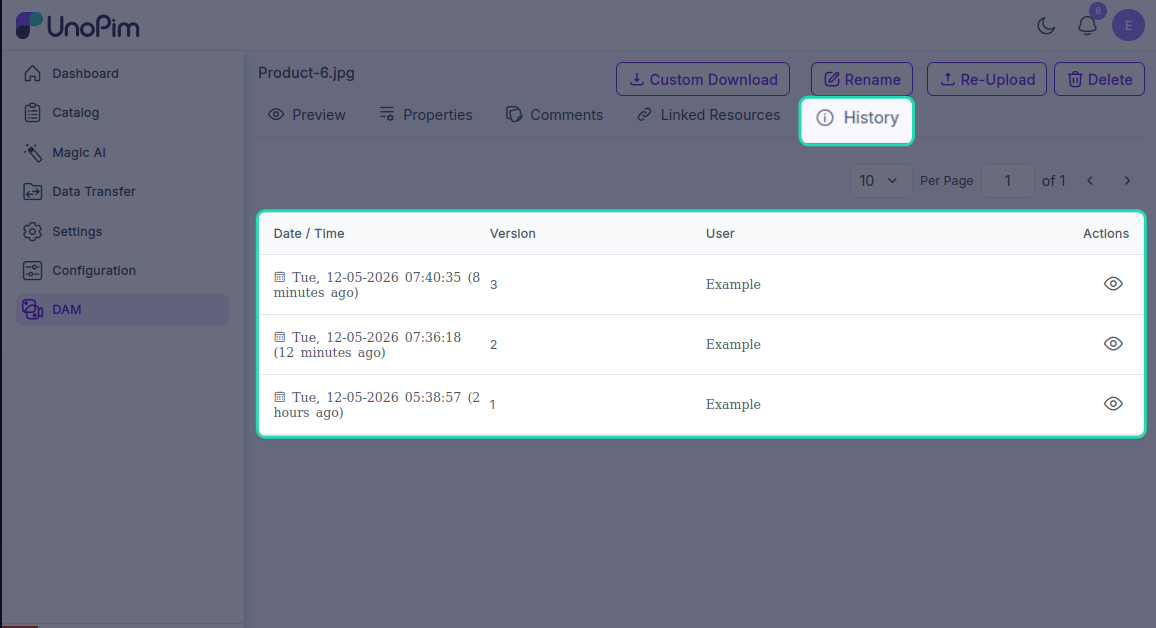
History
The History tab shows a full log of every change made to the asset — who changed it, what was changed, and when. This is useful for tracking edits and keeping an audit trail across your team.