

UnoPim DAM Installation Guide
Digital Asset Management - Installation Documentation
Installation Overview
UnoPim DAM offers two installation methods to suit your project needs:
- Composer Installation - Quick and straightforward setup
- Manual Installation - For custom configurations and direct control
Choose the method that best fits your project setup.
Requirements
| Requirement | Version |
|---|---|
| UnoPim | v2.1.x |
| PHP | 8.3 or higher |
Optional server tools
DAM leans on four command-line tools. All are optional — DAM runs without them — but each one silently disables a feature if it is missing, so installing them up front saves a lot of confusion later (and a thumbnail backfill).
# Debian / Ubuntu
sudo apt install ffmpeg poppler-utils libimage-exiftool-perl imagemagick

# RHEL / Alma / Rocky
sudo dnf install ffmpeg poppler-utils perl-Image-ExifTool ImageMagick

# macOS (Homebrew)
brew install ffmpeg poppler exiftool imagemagick| Tool | Used for | What breaks without it |
|---|---|---|
ffmpeg | Video first-frame thumbnails | Videos show a generic file-type icon |
poppler-utils (pdftoppm) | PDF first-page thumbnails | PDFs show a generic file-type icon |
exiftool | Embedded metadata (EXIF, IPTC, XMP, ID3) and audio cover art | The Metadata tab falls back to basic EXIF for images only; audio cover art never appears |
imagick (PHP ext.) | Rasterising SVGs for Custom Download | Downloading an SVG as JPG/PNG/WebP fails |
IMPORTANT
exiftool is the one people miss. Without it the Metadata tab still loads — it just quietly shows far less, with nothing in the UI explaining why. If metadata looks thin, check exiftool -ver on the server before anything else.
If you run UnoPim in Docker, add the same packages to the apt-get install line in both dockerfiles/fpm.Dockerfile and dockerfiles/q.Dockerfile — the queue worker needs them too, since thumbnail and metadata jobs run there.
Composer Installation
Composer Installation is the recommended approach for quick setup.
Step 1: Install the Package
Execute the following command:
composer require unopim/dam| Command | Purpose |
|---|---|
composer require unopim/dam | Downloads and installs the DAM package and updates Composer dependencies. |
Step 2: Run the installation command and Clear Cache
Run the following commands:
php artisan dam-package:install
php artisan optimize:clear| Command | Purpose |
|---|---|
php artisan dam-package:install | Runs the DAM package installer and applies required setup steps. |
php artisan optimize:clear | Clears all cached files (bootstrap, configuration, routes, and views) to load the new changes. |
The installer is interactive and asks two questions:
| Prompt | Default | What to answer |
|---|---|---|
| Run the migrations now? | Yes | Say yes — DAM cannot work without its tables. |
| Seed demo data? | No | Say yes on an evaluation or development install to get a pre-populated library (Accessories, Audio and Video, Clothes, Documents). Say no on production. |
You can seed the demo data later at any time with php artisan dam:demo-data.
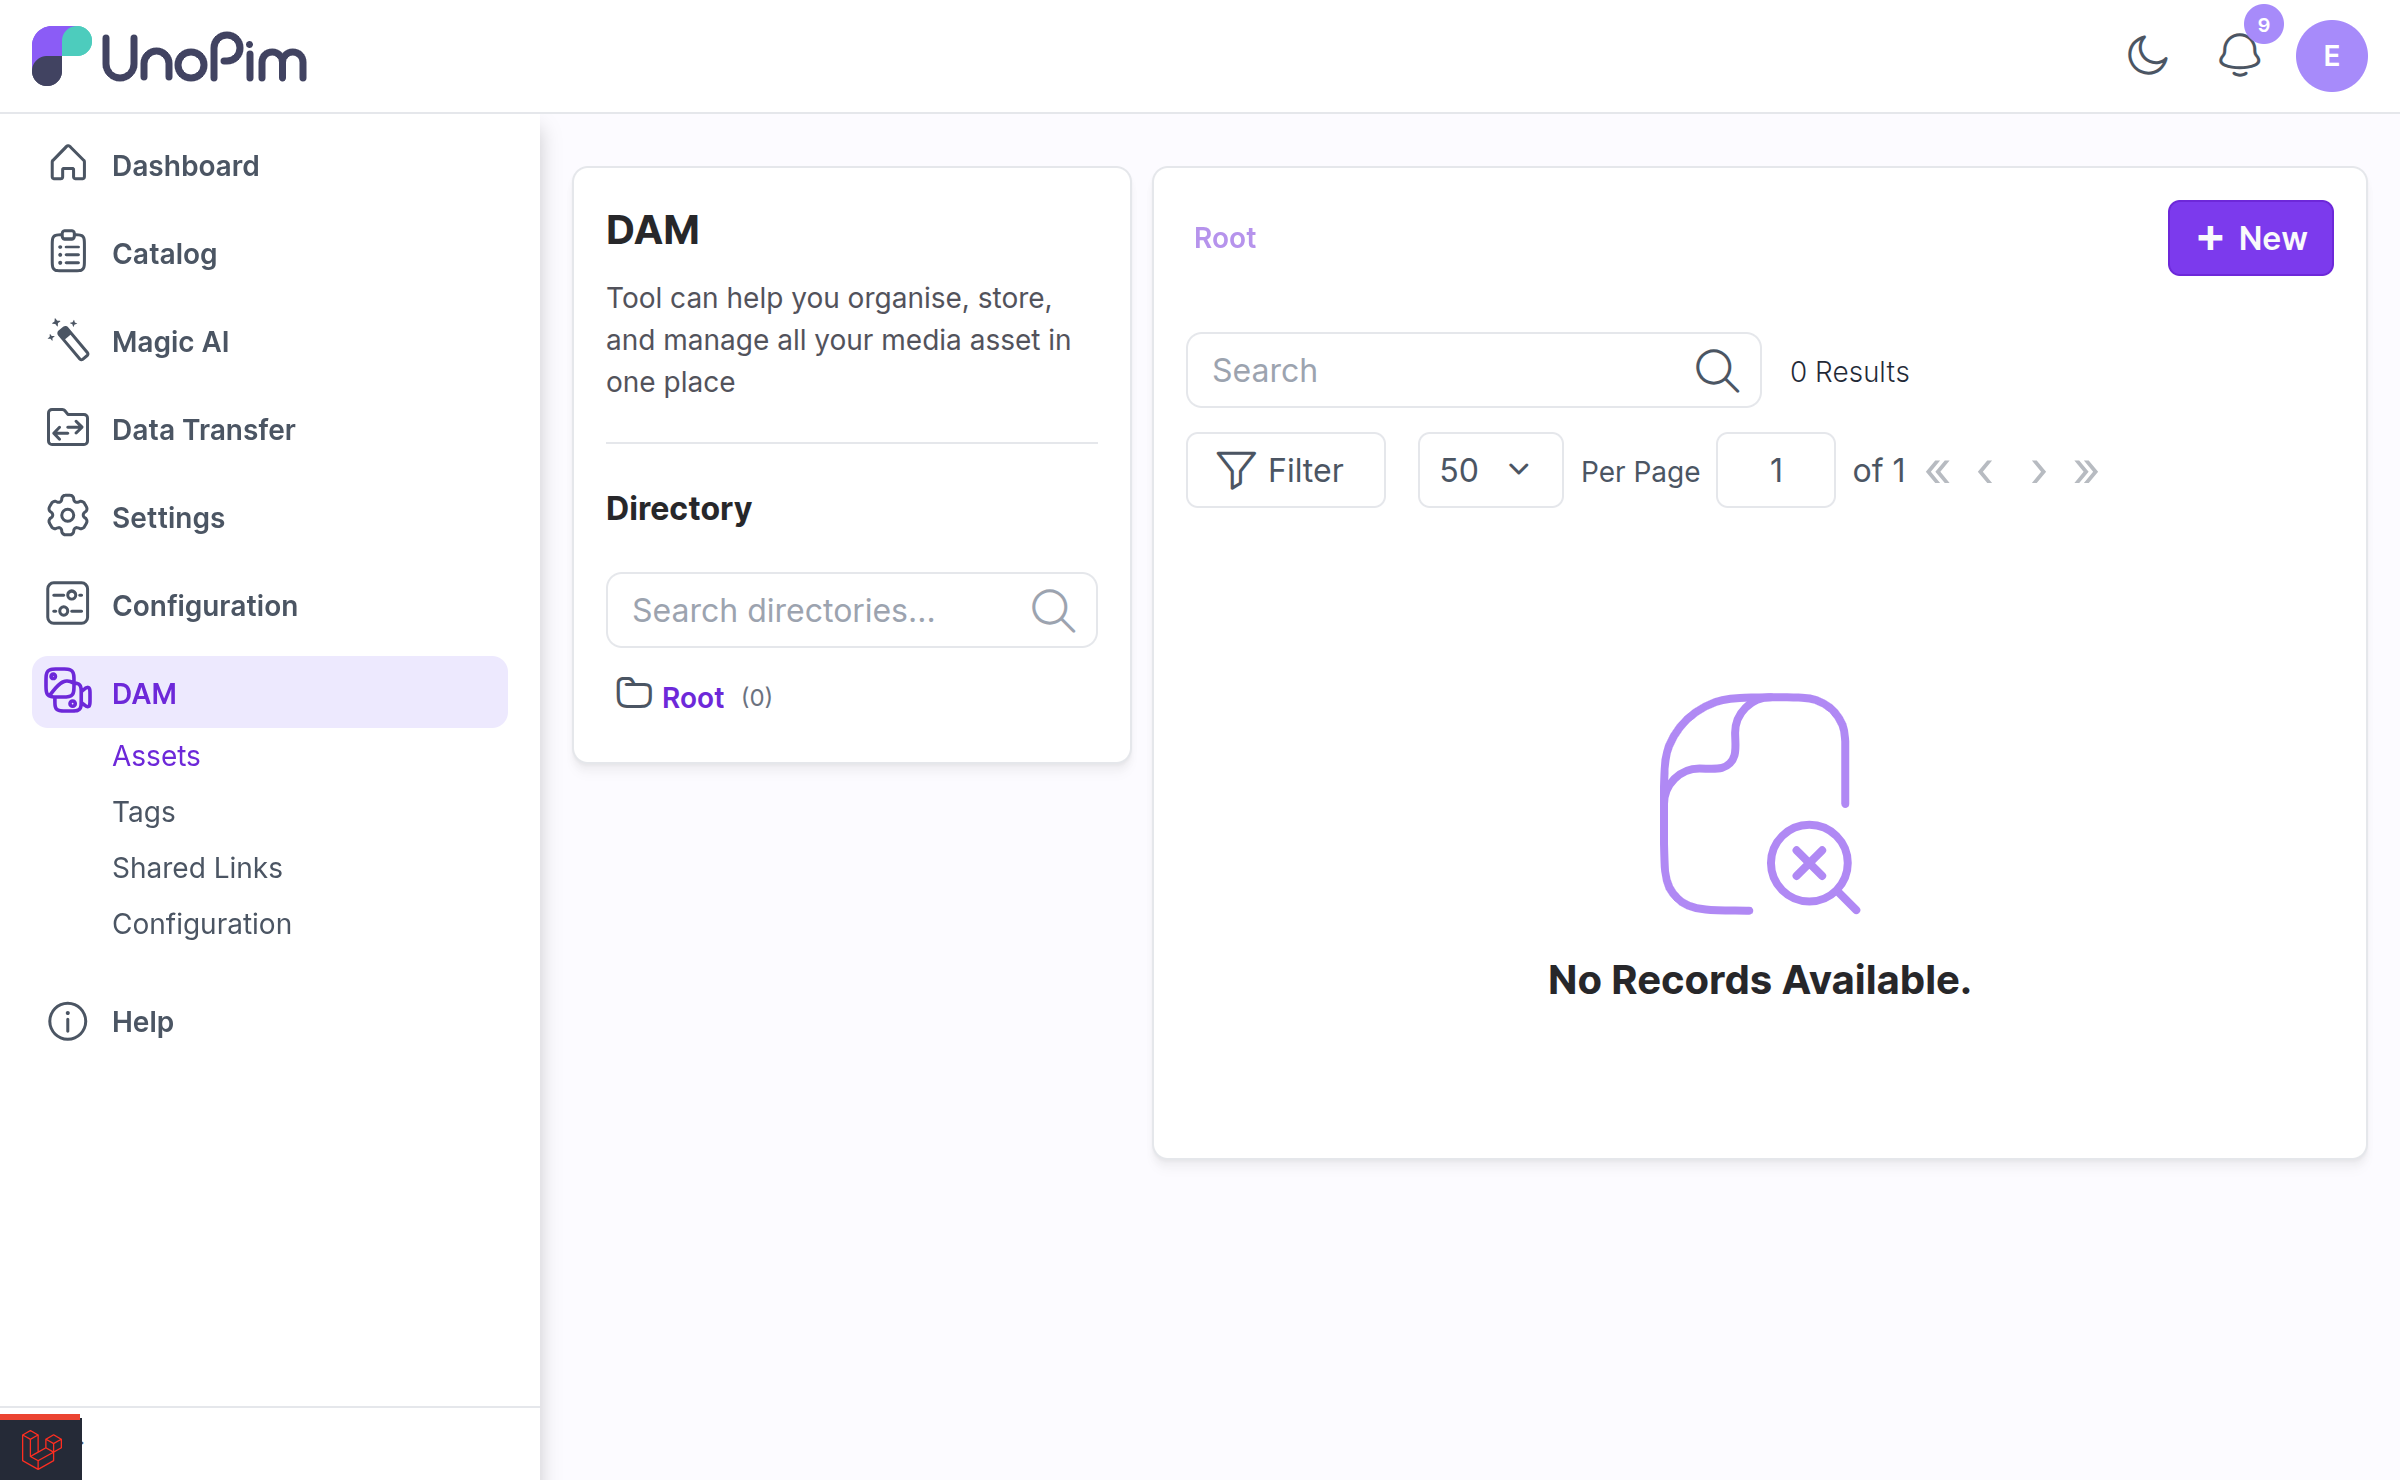
Installation complete! Your UnoPim DAM is now ready to use.
Manual Installation
Installation without Composer
For the source code and latest version, visit the UnoPim DAM GitHub repository.
Step 1: Download and Setup the Extension
- Download and unzip the extension
- Rename the folder to
DAM - Place it in the
packages/Webkuldirectory within the project's root
Step 2: Register the Package Provider
Add the following to bootstrap/providers.php:
At the top, add the use statement:
use Webkul\DAM\Providers\DAMServiceProvider;In the return array, in the Webkul package service providers section, add:
DAMServiceProvider::class,NOTE
This registers DAMServiceProvider in Laravel so the module can bootstrap its services, routes, and package configuration during application startup.
Step 3: Update Autoload Configuration
Register the DAM directory in composer.json under autoload > psr-4:
"Webkul\\DAM\\": "packages/Webkul/DAM/src"Step 4: Run Installation Commands
Execute these commands to complete the installation:
composer dump-autoload
php artisan optimize:clear
php artisan migrate
php artisan vendor:publish --provider=Webkul\\DAM\\Providers\\DAMServiceProvider
php artisan db:seed --class=Webkul\\DAM\\Database\\Seeders\\DirectoryTableSeeder| Command | Purpose |
|---|---|
composer dump-autoload | Regenerates Composer's autoloader mapping to include the newly added namespace. |
php artisan optimize:clear | Clears all cached files (bootstrap, configuration, routes, and views) to load the new changes. |
php artisan migrate | Runs pending database migrations required by the DAM package. |
php artisan vendor:publish --provider=Webkul\\DAM\\Providers\\DAMServiceProvider | Publishes DAM package resources and configuration files. |
php artisan db:seed --class=Webkul\\DAM\\Database\\Seeders\\DirectoryTableSeeder | Seeds initial DAM directory data required by the module. |
Step 5: Enable Queue Operations
Start the queue to execute actions, such as job operations, by running the following command:
php artisan queue:work| Command | Purpose |
|---|---|
php artisan queue:work | Starts a queue worker to process DAM background jobs. |
If the queue:work command is managed by a process manager like Supervisor, restart the relevant service after installing the module to apply the changes:
sudo supervisorctl restart unopim-worker| Command | Purpose |
|---|---|
sudo supervisorctl restart unopim-worker | Restarts the Supervisor-managed worker so it loads newly installed DAM code. |
Installation complete! Your UnoPim DAM is now ready to use.
Post-Installation Setup
Start the Queue Worker
To start the queue and execute actions such as job operations, run the following command:
php artisan queue:work| Command | Purpose |
|---|---|
php artisan queue:work | Starts a queue worker to process DAM background jobs. |
Configure Queue with Process Manager
If the queue:work command is configured to run through a process manager like Supervisor, restart the Supervisor service after installing the module to apply the changes:
sudo service supervisor restart| Command | Purpose |
|---|---|
sudo service supervisor restart | Restarts Supervisor and its managed queue workers. |
IMPORTANT
A queue worker is not optional. Uploads, thumbnail generation, and other DAM background jobs all run on the queue. Without a worker, uploads will appear to hang and thumbnails will never appear.
Next Steps
- Set up permissions — create roles and grant DAM permissions, and create the Asset attribute and category field.
- Scope roles to directories — restrict a role to specific folders, if you need to.
- Review the configuration — directory tree behaviour, Explorer view, upload tuning.
Your UnoPim DAM installation is complete and ready to use.
NOTE
Already running an older DAM version? See Upgrading DAM instead.