Creating a Product in UnoPim
Before you can export anything to Shopify, your products need to exist in UnoPim first. Here's how to create one from scratch.
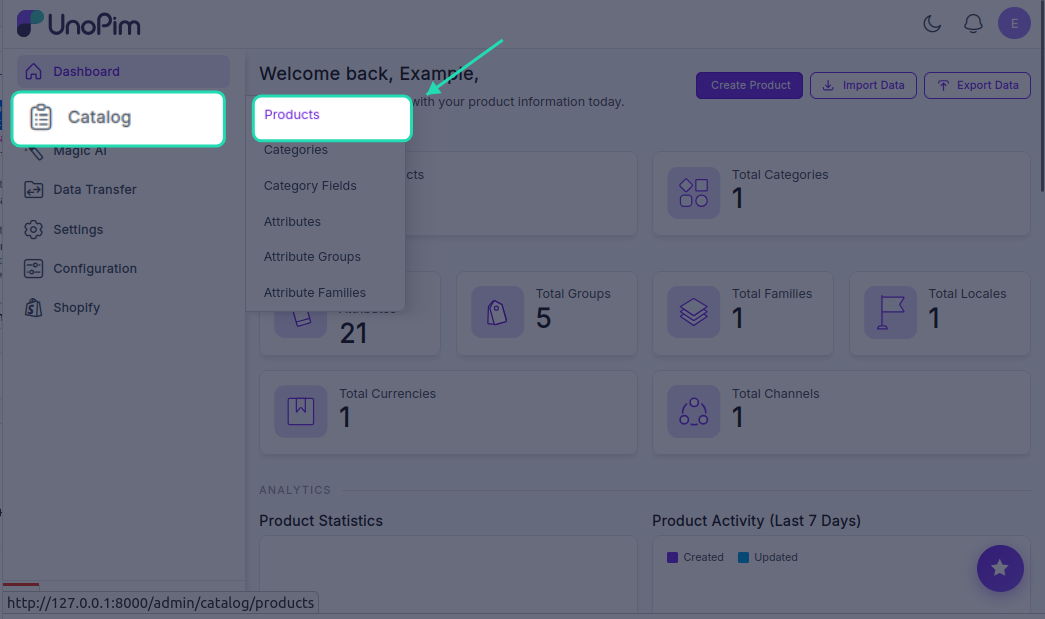
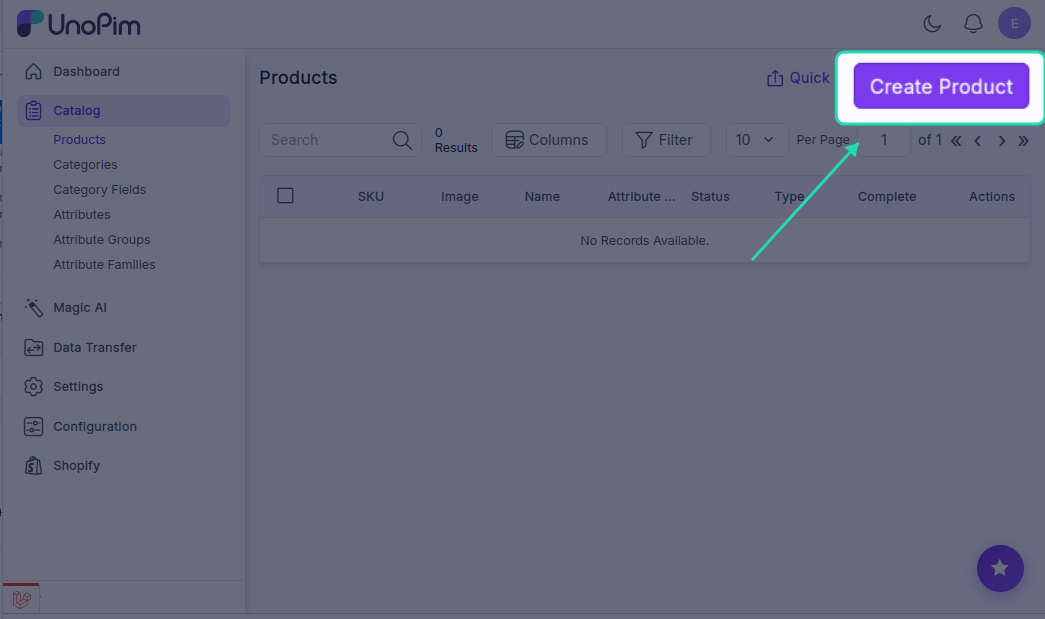
Step 1 — Start a New Product
In the left sidebar, navigate to Products and click the Create button.
You'll be asked to choose a product type:
| Product Type | When to use |
|---|---|
| Simple Product | A straightforward, single product with no variations — e.g., a book, a poster, or a fixed-size item |
| Configurable Product | A product that comes in multiple variations — e.g., a T-shirt available in different colours and sizes |
Pick the type that matches what you're creating, then move on to the next step.
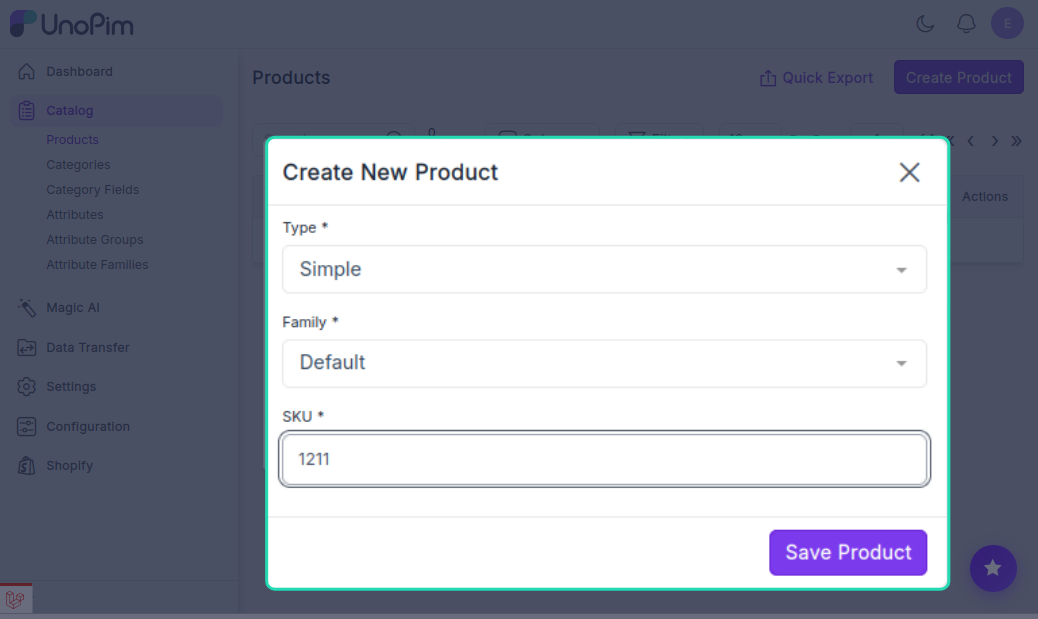
Step 2 — Enter the Basic Info
Fill in the following required fields:
- SKU — a unique identifier for this product (e.g.,
TSHIRT-BLU-M). No two products can share the same SKU. - Family — choose the attribute family this product belongs to. The family determines which attributes are available for this product.
Once done, click Save.
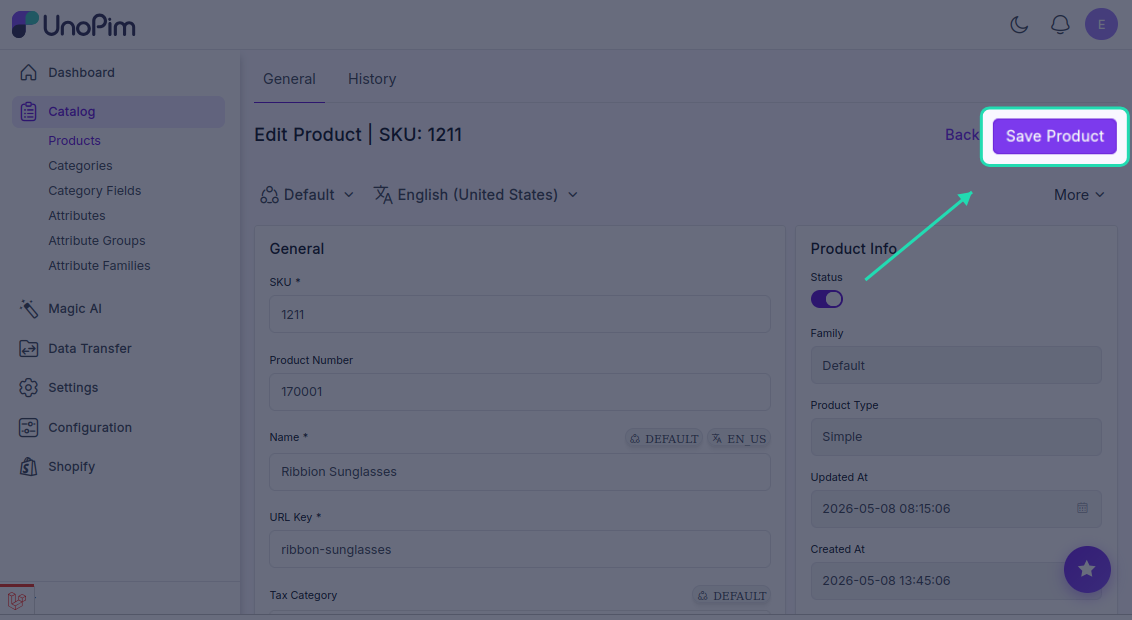
Step 3 — Add Product Details
After saving, you'll land on the full product edit screen. This is where you fill in everything else:
- Name — the product title that will appear on Shopify
- Description — a detailed product description (HTML is supported)
- Categories — assign the product to one or more categories
- Any other attributes defined by the product family

Step 4 — Upload Product Images
To add images, click on the image attribute field on the product page. This opens the file picker where you can upload one or more product photos.

Uploading images will update the product's status — make sure your images are ready before saving.
Click Save once all details and images are added. Your product is now complete and ready to be exported to Shopify.
Once your product is saved and complete, it's ready to be exported to Shopify.