Installation
There are two ways to install the UnoPim Shopify Connector — Composer (recommended) and Manual. Pick the one that suits your setup. If you're not sure, go with Composer — it's faster and handles everything automatically.
Option 1 — Composer Installation (Recommended)
If you have Composer set up on your server, this is by far the quickest way to get started.
Step 1 — Install the package
Open your terminal, navigate to your UnoPim project root, and run:
composer require unopim/shopify-connector| Command | Purpose |
|---|---|
composer require unopim/shopify-connector | Downloads and installs the Shopify connector package and updates Composer dependencies. |
Wait for Composer to finish downloading and installing the package.
Step 2 — Run the installer and clear the cache
Once the package is installed, run these two commands one after the other:
php artisan shopify-package:install
php artisan optimize:clear| Command | Purpose |
|---|---|
php artisan shopify-package:install | Runs the Shopify connector installer and required setup steps. |
php artisan optimize:clear | Clears all cached files (bootstrap, configuration, routes, and views) to load the new changes. |
That's it — the connector is installed and ready to configure.
Option 2 — Manual Installation
Use this method if you can't use Composer or prefer to install packages manually.
Step 1 — Add the package files
Download the extension ZIP file and unzip it. Rename the extracted folder to Shopify and move it into the following directory inside your UnoPim project:
packages/Webkul/ShopifyStep 2 — Register the service provider
Open the config/app.php file and add the following line inside the providers array:
Webkul\Shopify\Providers\ShopifyServiceProvider::class,NOTE
This registers ShopifyServiceProvider in Laravel so the connector can bootstrap its services, routes, and package configuration during application startup.
Step 3 — Update Composer autoload
Open composer.json and add the following line under the autoload > psr-4 section:
"Webkul\\Shopify\\": "packages/Webkul/Shopify/src"Step 4 — Run the setup commands
Now run the following commands in order:
composer dump-autoload
php artisan shopify-package:install
php artisan optimize:clear| Command | Purpose |
|---|---|
composer dump-autoload | Regenerates Composer's autoloader mapping to include the newly added namespace. |
php artisan shopify-package:install | Runs the Shopify connector installer and required setup steps. |
php artisan optimize:clear | Clears all cached files (bootstrap, configuration, routes, and views) to load the new changes. |
Verify the Installation
Once either installation method is complete, log in to your UnoPim dashboard. You should see a Shopify icon appear in the left sidebar — that confirms the connector has been installed successfully.
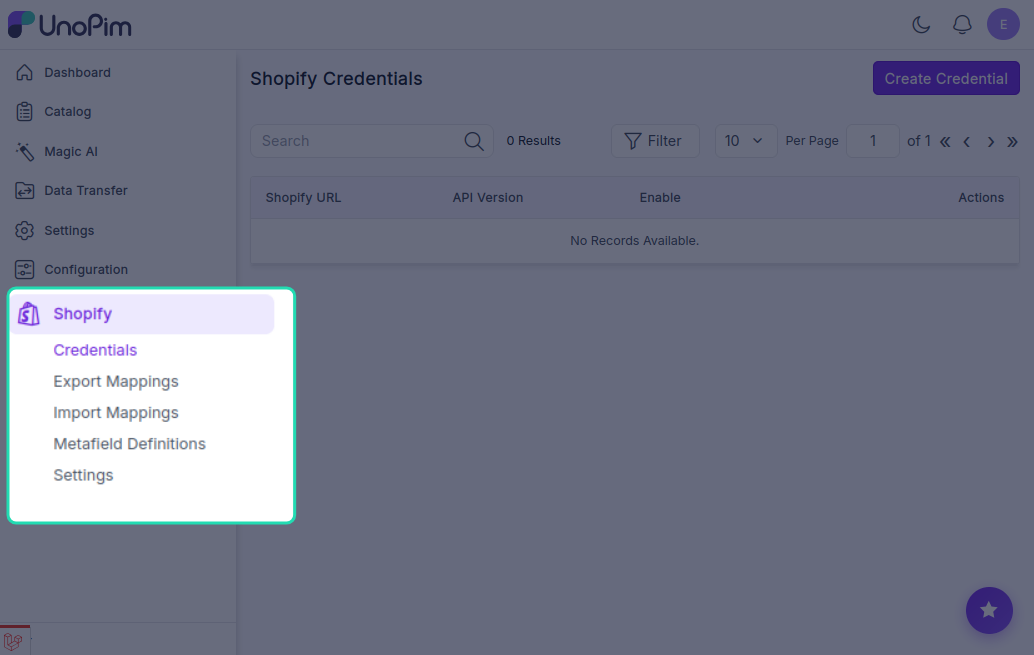
If the icon doesn't appear, try running php artisan optimize:clear again and refresh the page.