Setting Up UnoPim Credentials
Once the connector is installed, the next step is to connect your Shopify store to UnoPim. This is done by adding your Shopify credentials inside the UnoPim dashboard.
Step 1 — Open the Shopify Section
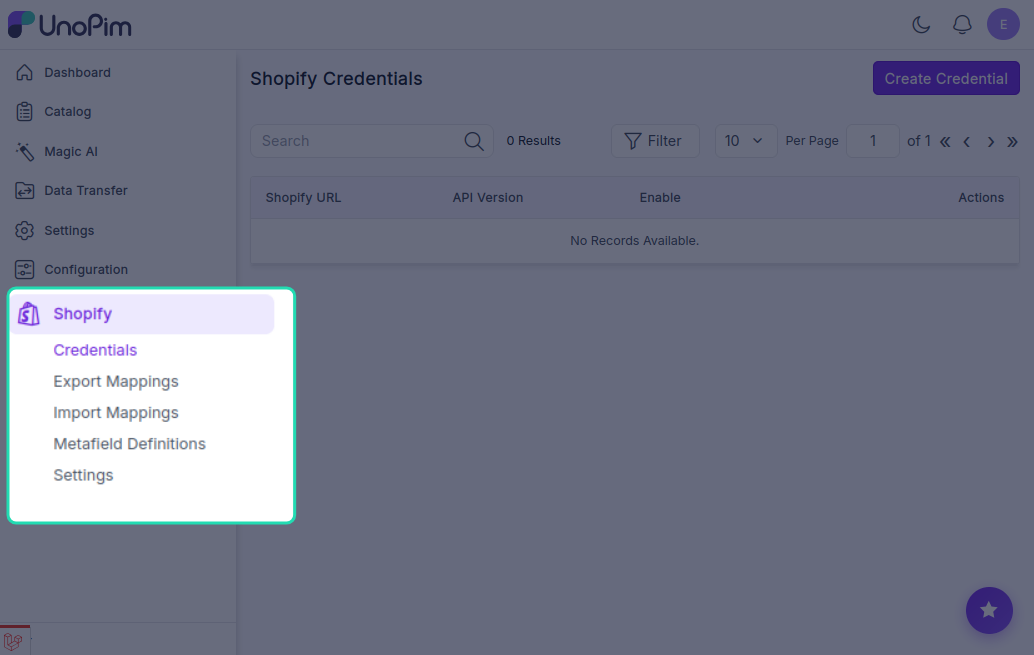
After installation, you'll notice a new Shopify icon in the left sidebar of your UnoPim dashboard. Click on it to open the connector.
Step 2 — Create New Credentials
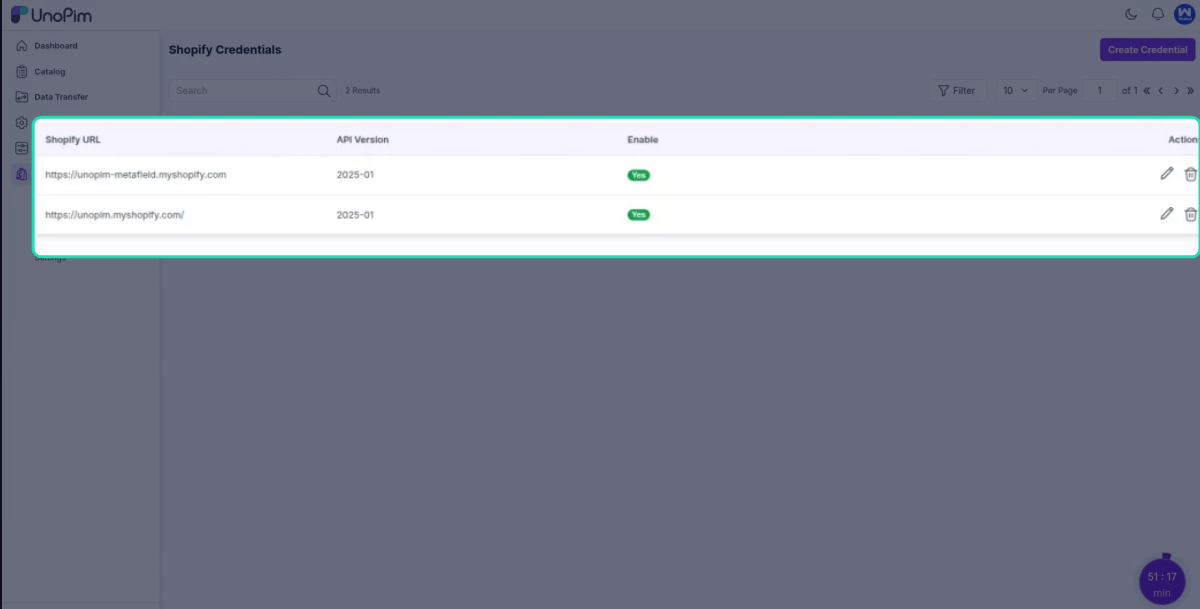
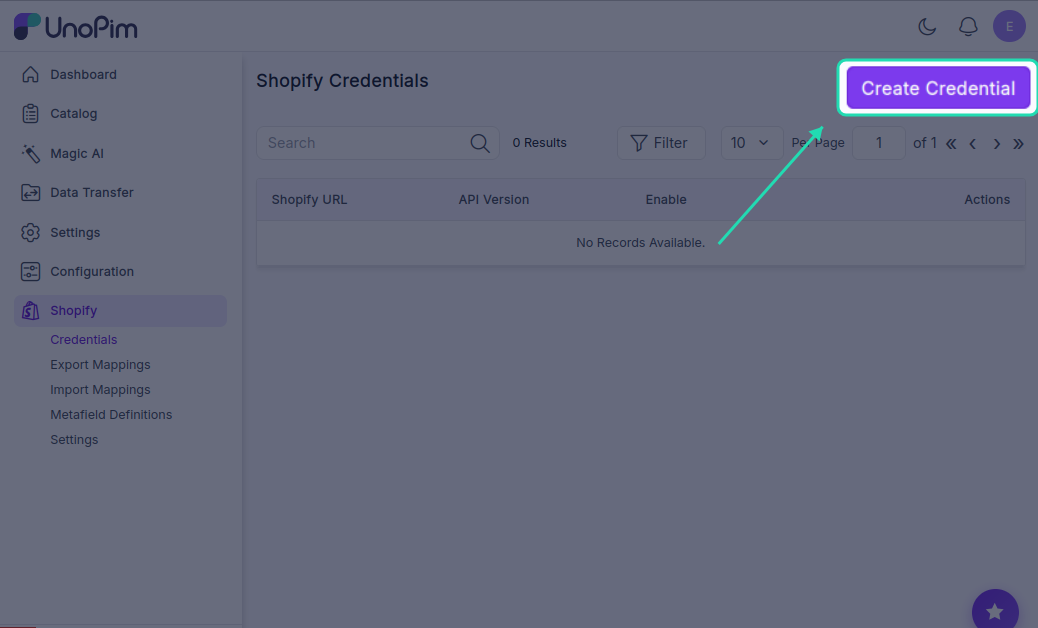
Go to the Credentials tab and click Create Credentials.
Fill in the following details:
| Field | What to enter |
|---|---|
| Shopify URL | Your Shopify store URL (e.g. mystore.myshopify.com) |
| Admin API access token | The access token you copied from your Shopify app |
| API Version | Select 2026-01 |
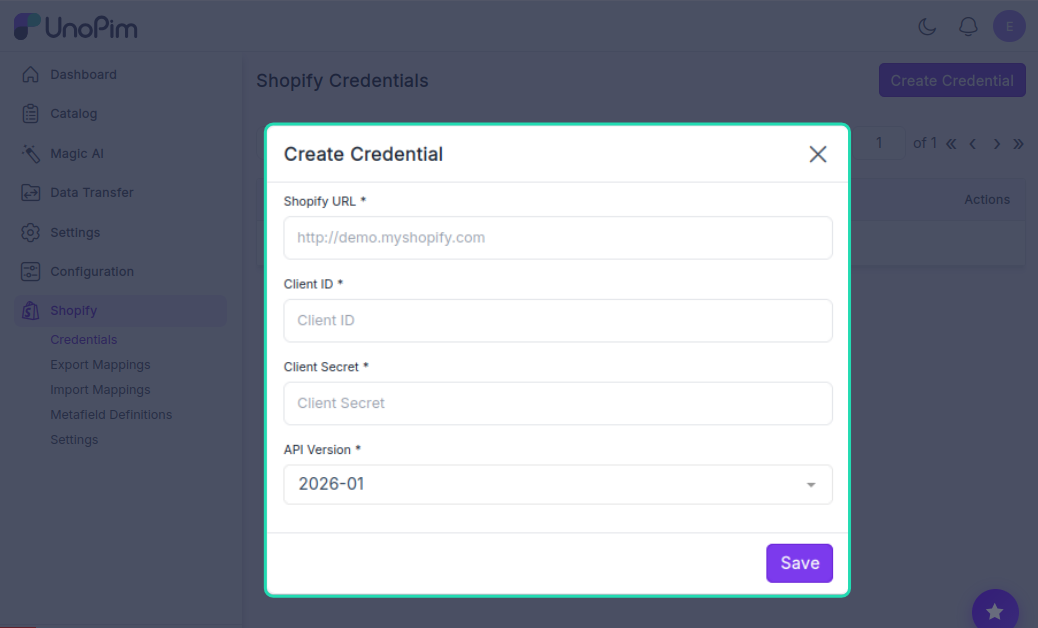
Note: The UnoPim Shopify Connector currently supports API version 2026-01. Make sure you select this version.
Click Save once all fields are filled in.
Step 3 — Update the Credential Settings
After saving, you'll be redirected to the credential edit screen. Complete the remaining fields:
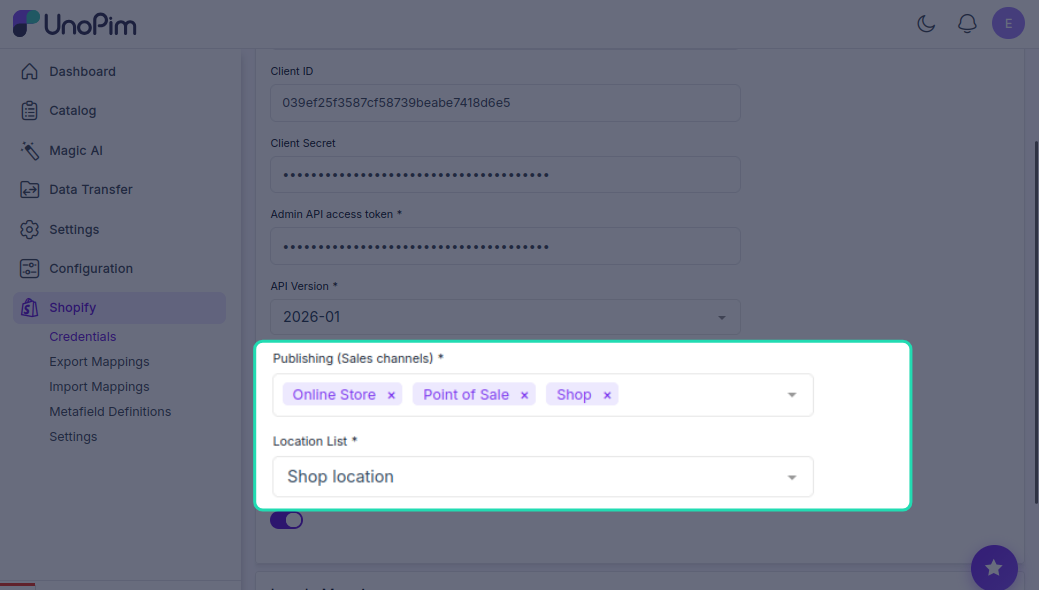
Publishing (Sales Channels) Select which Shopify sales channels your products should be published to once exported.
Location List Choose the inventory location that will be used when syncing stock quantities.
Status Set the default status for exported products — either active or draft.
Note: The Sales Channels and Location List options are fetched directly from your Shopify store. If you don't see them in the dropdown, make sure they have been created in Shopify first before setting up credentials here.
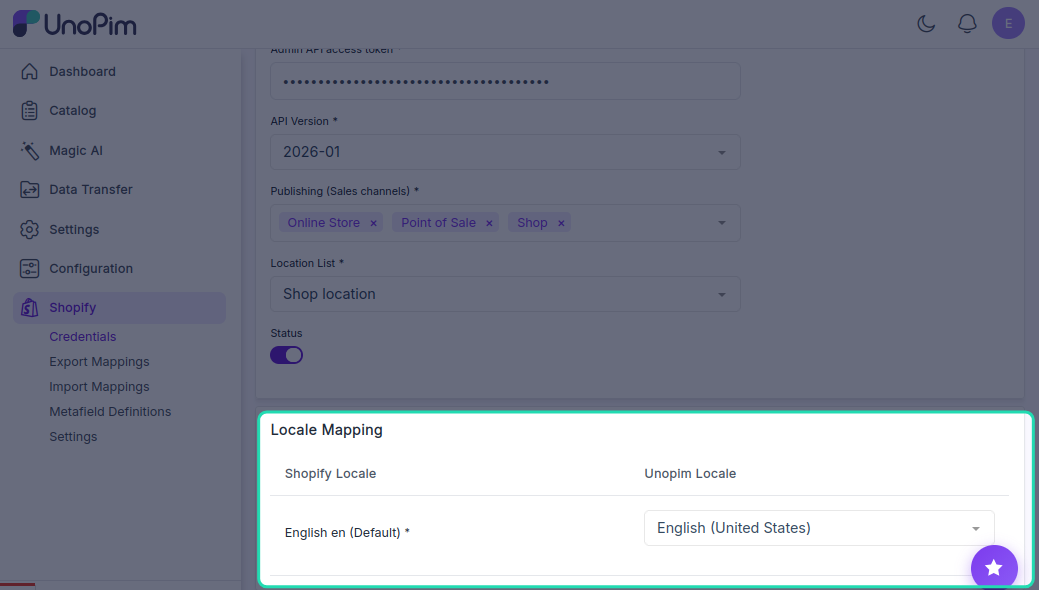
Step 4 — Map Your Locales
If your Shopify store supports multiple languages, all available Shopify locales are fetched automatically. You just need to map each Shopify locale to the corresponding locale in UnoPim.
Connecting Multiple Shopify Stores
You can connect more than one Shopify store to the same UnoPim instance. Simply repeat the steps above and create a separate set of credentials for each store.